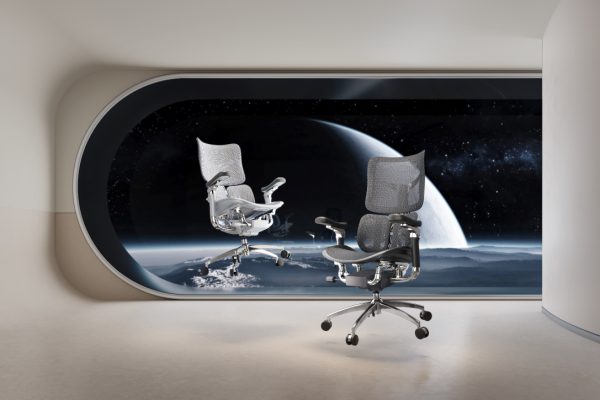
By: • Articles
Sihoo Doro S300 Review: High-Quality Ergonomic Chair

By: • Articles
2024 Buying Guide for Costway Massage Chair

Living Room Furniture
Building & Construction
Kitchen Furniture
Articles
Articles
Outdoor Furniture
Garden Essentials
Outdoor Furniture
Outdoor Furniture
Landscaping Ideas
Articles
Home Automation Appliances
Living Room Storage
Articles
Explore topics
How to Store Things
Inspiration & Ideas
Featured Articles


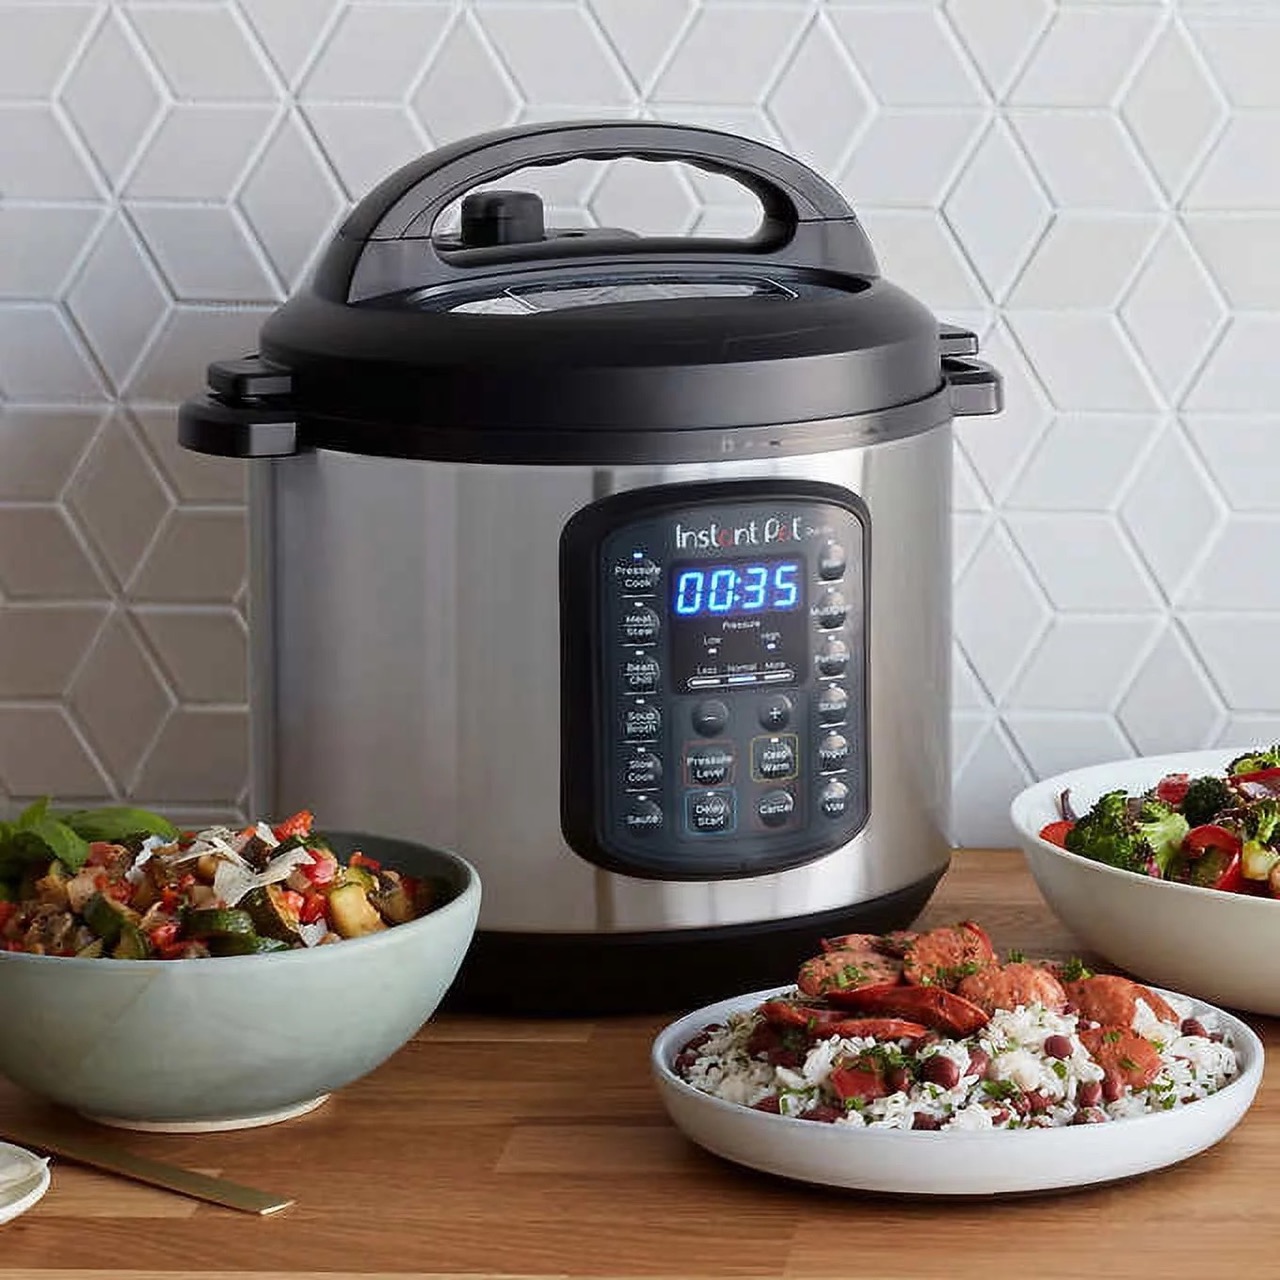
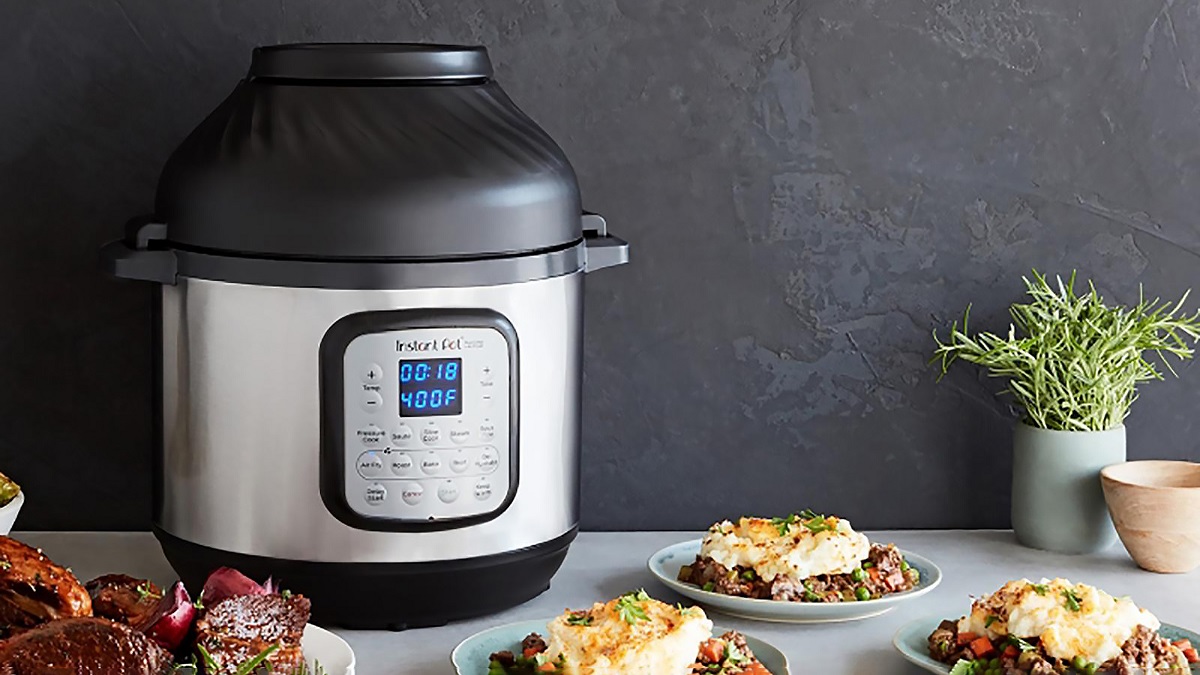
By: William Harrison • Articles
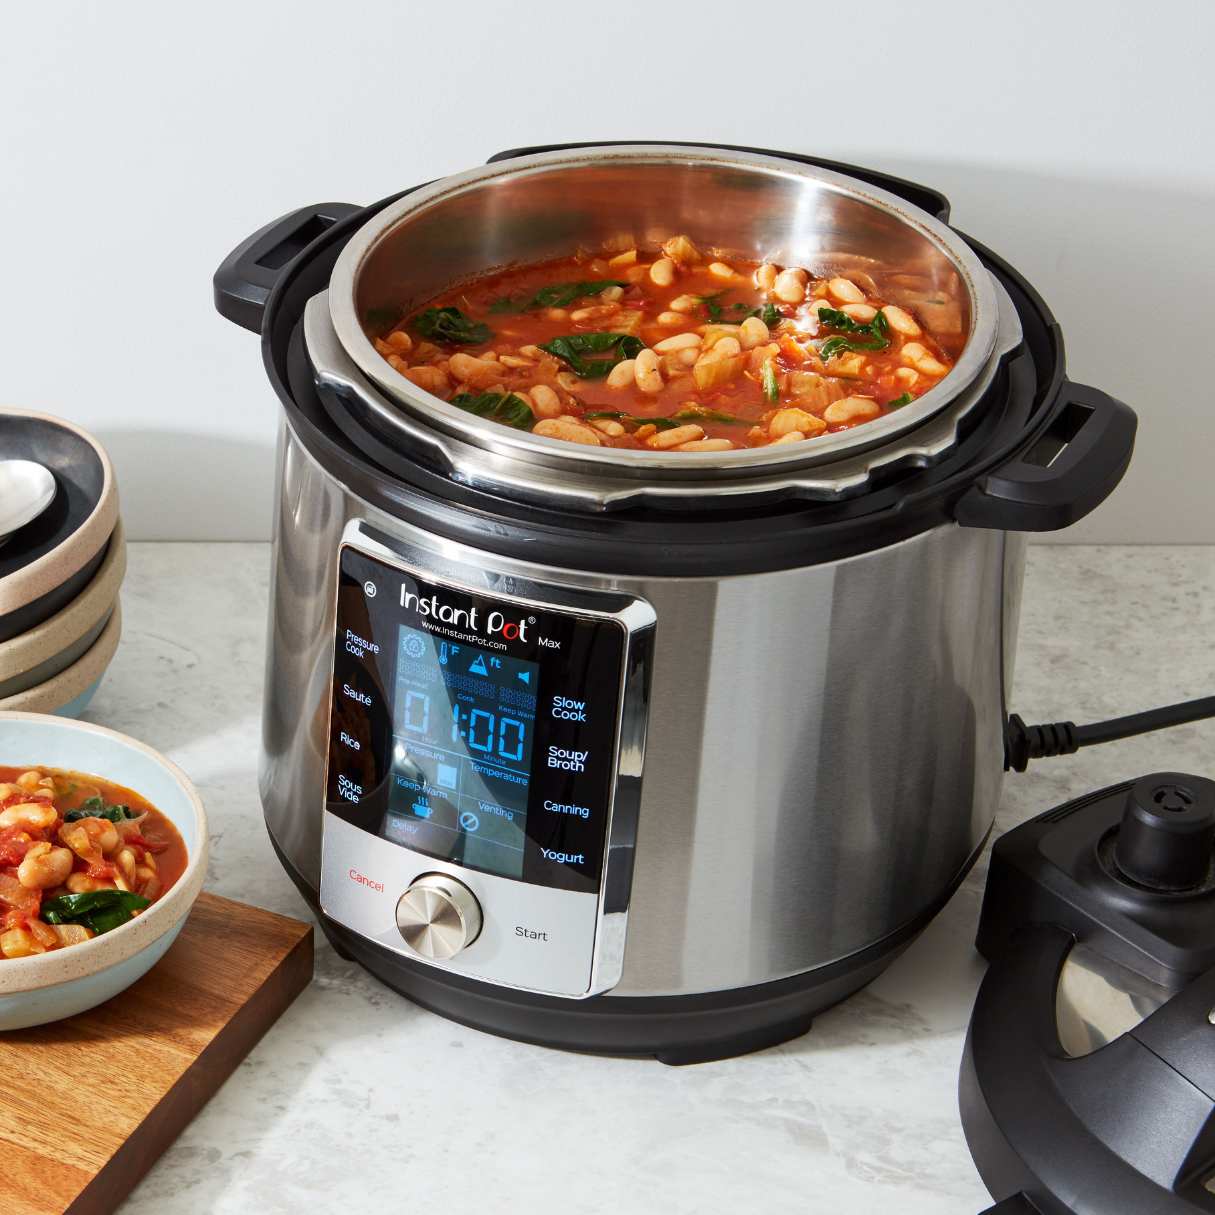
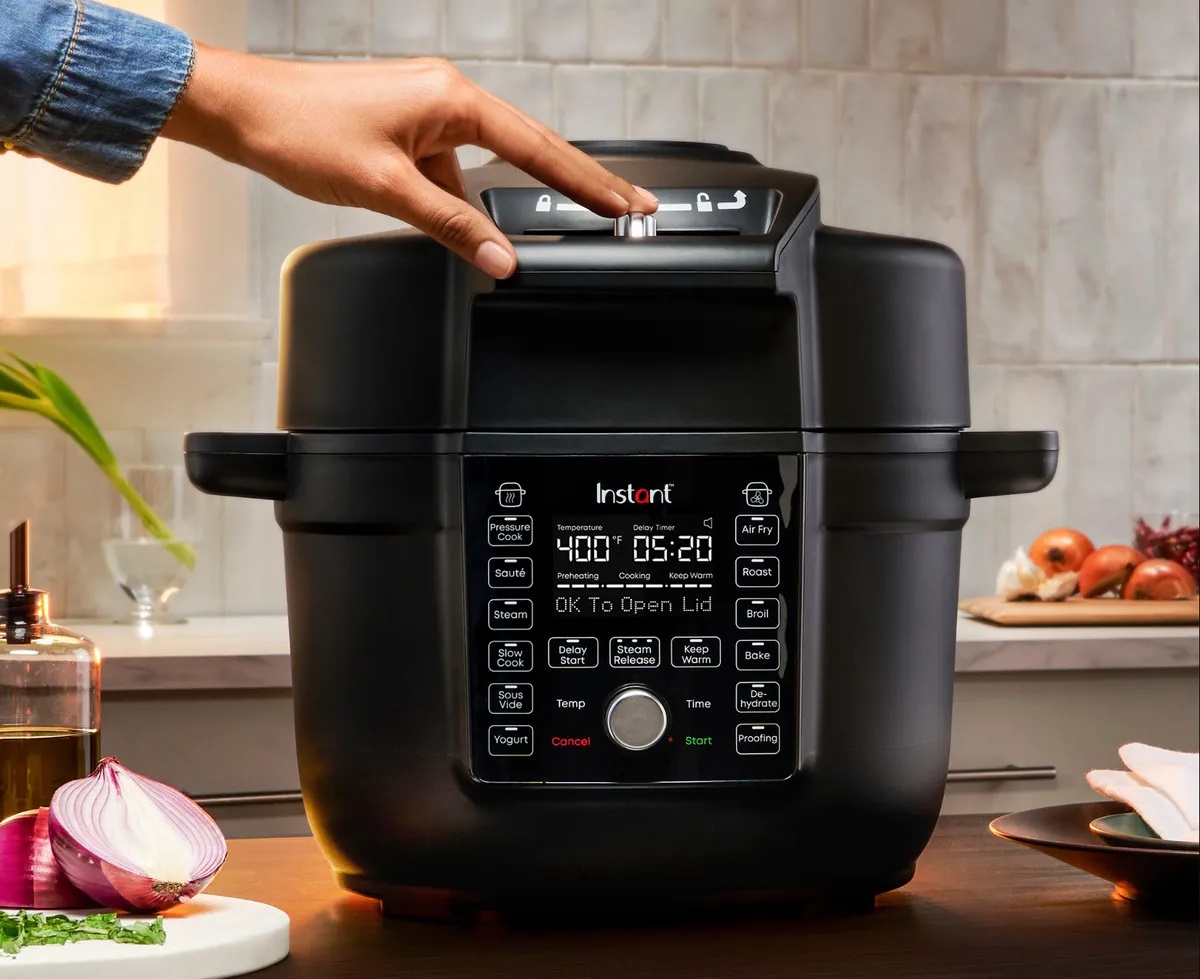
8 Superior Instant Pot Duo Sv 6Qt Multi-Use Pressure Cooker For 2024
Read More