Home> Renovation & DIY > DIY Projects & Ideas
DIY Projects & Ideas
By: Henry Campbell • DIY Projects & Ideas
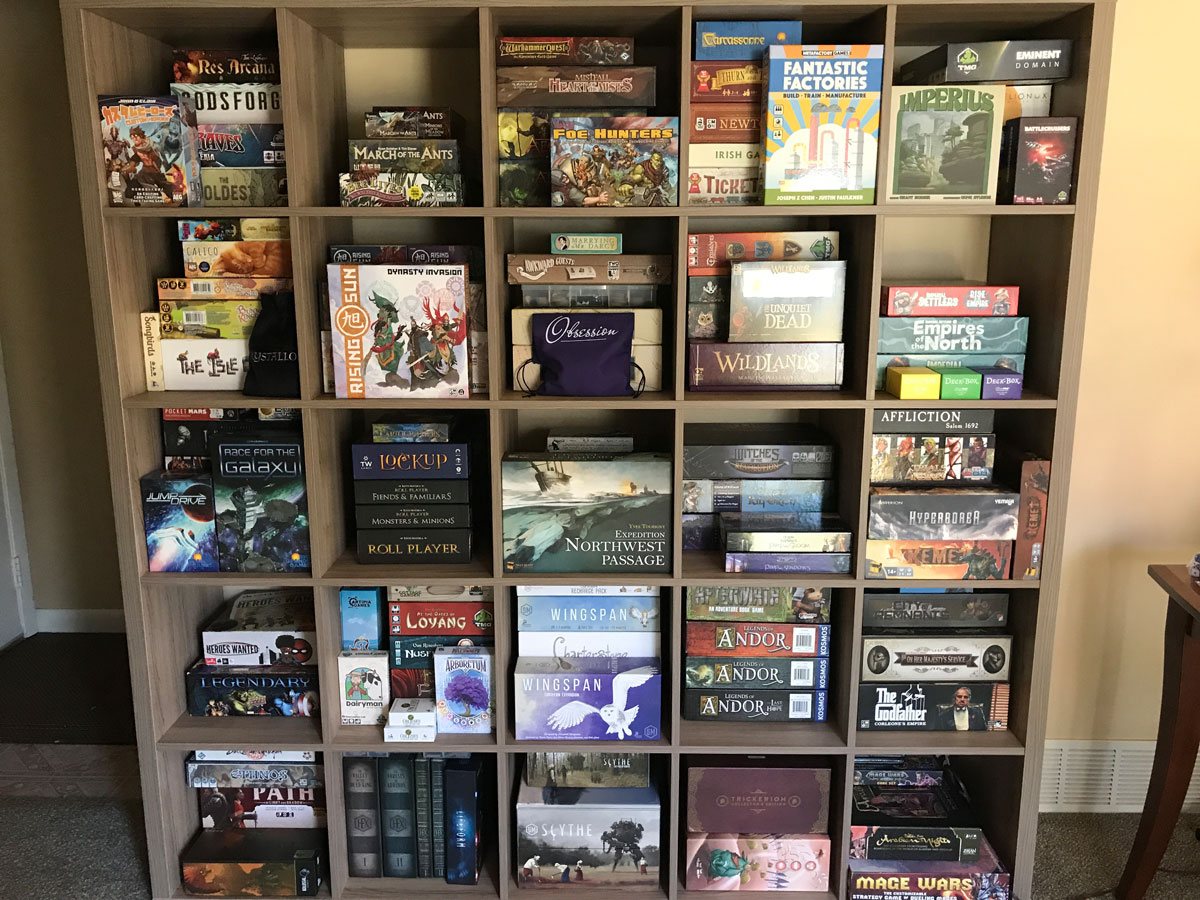
Choosing the Right Games When it comes to organizing games, the first step is to choose the right ones that will appeal to your audience and fit the occasion. Whether you're planning a family game night, a birthday party, or a team-building event, selecting the appropriate games is crucial for...
Read More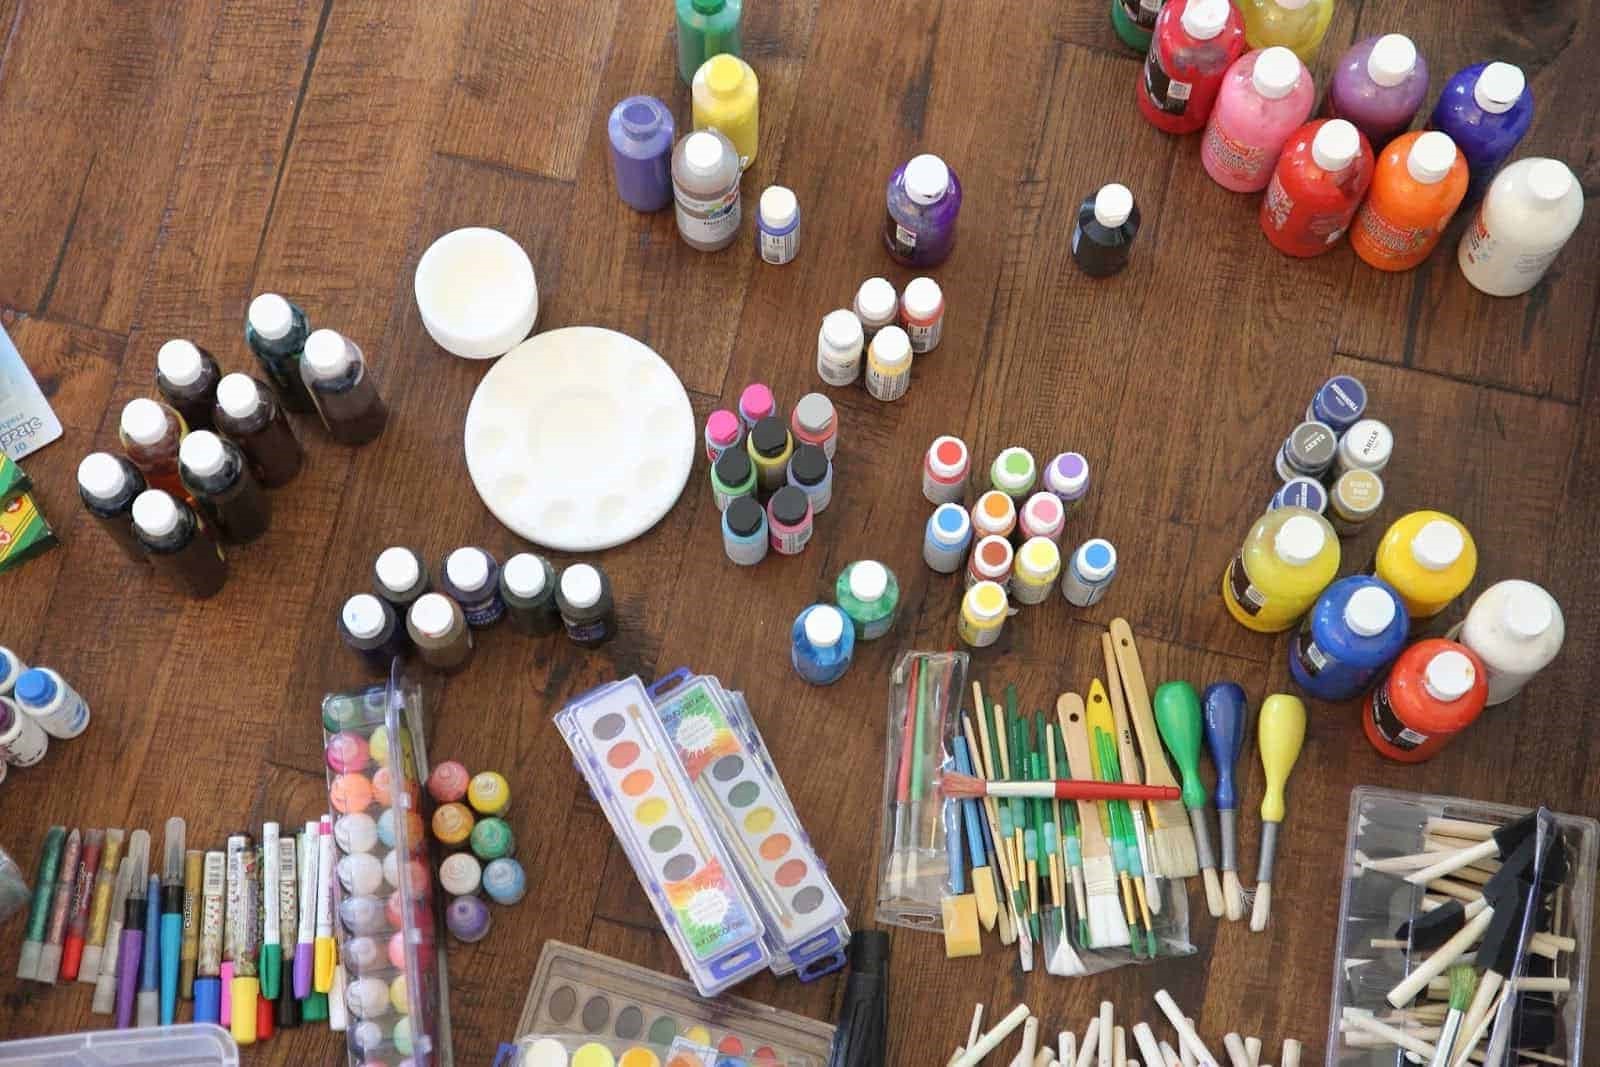
By: Olivia Parker • DIY Projects & Ideas
How To Organize Kids Craft Supplies
Introduction Are you tired of finding glitter all over the house or stepping on tiny beads? Organizing kids craft supplies can be a daunting task, but with the right strategies, it can become a fun and rewarding project. In this article, we will explore various tips and techniques to help...
Read More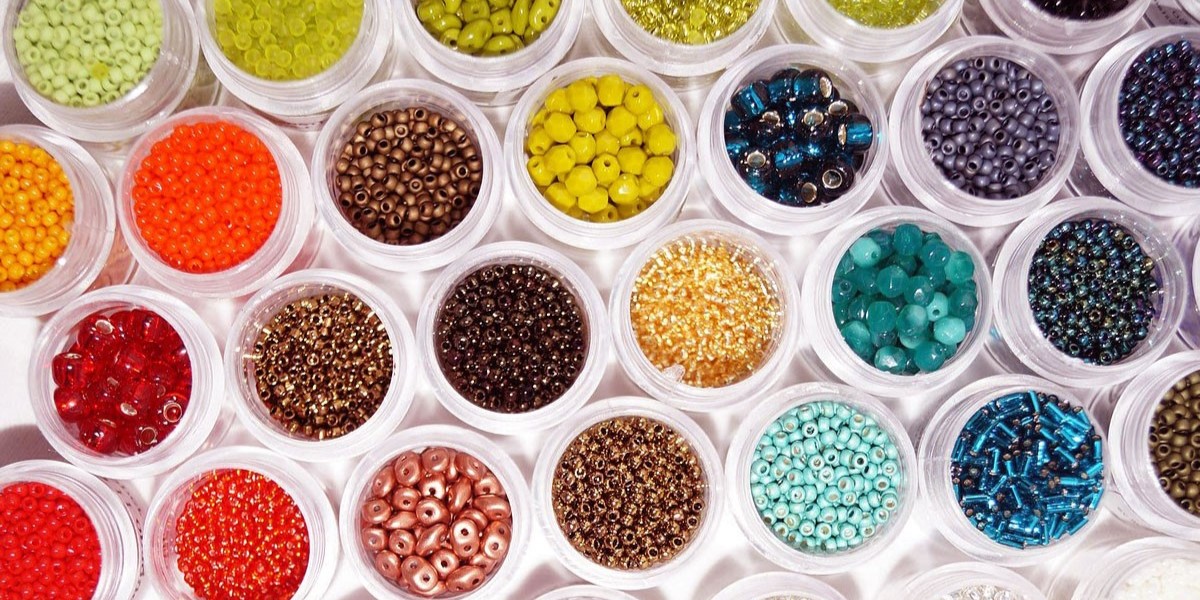
By: Sophia Turner • DIY Projects & Ideas
How To Organize Beads For Jewelry Making
Introduction Are you a jewelry maker who loves working with beads? If so, you know how important it is to keep your beads organized. Whether you're a beginner or a seasoned jewelry maker, having a well-organized bead collection can make your crafting process more efficient and enjoyable. In this article,...
Read More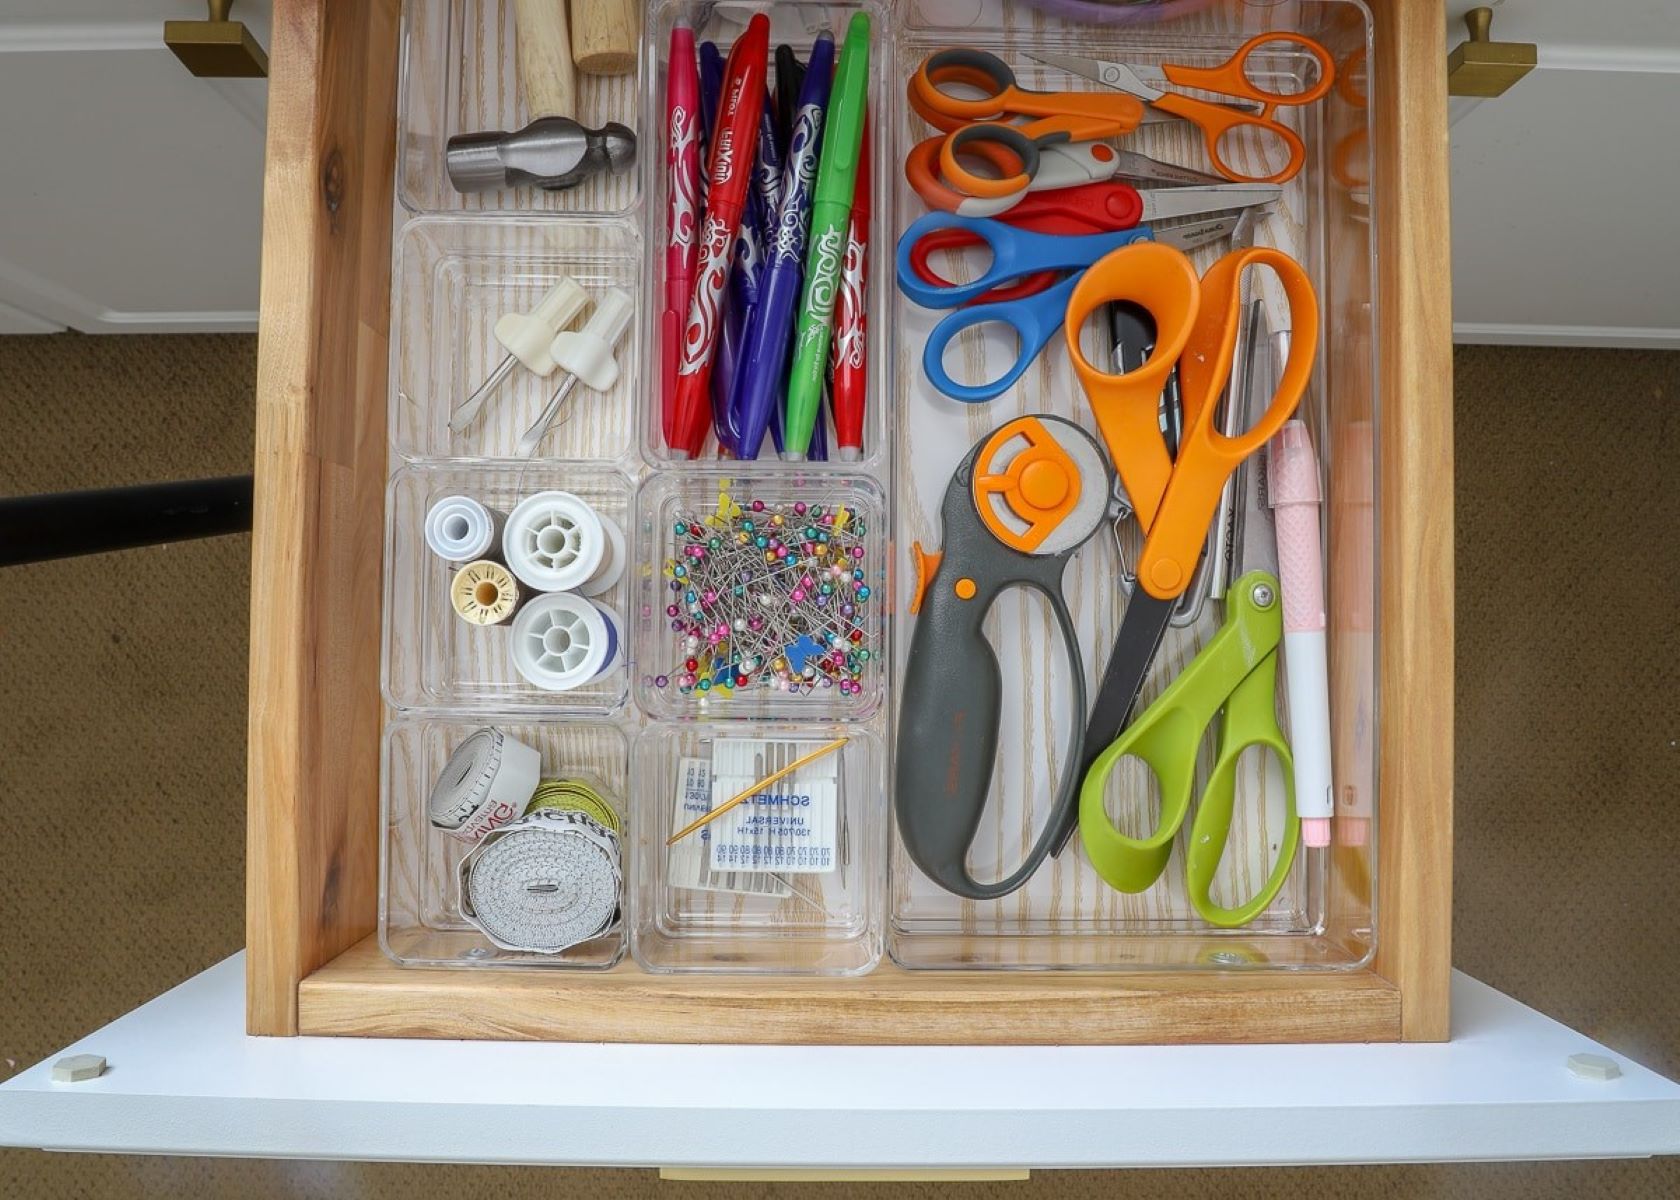
By: Isabella Mitchell • DIY Projects & Ideas
Introduction Are you tired of digging through piles of supplies to find what you need for your next crafting project? Organizing your craft space can make a world of difference in your productivity and enjoyment. In this article, we'll explore the best strategies for setting up your craft space, sorting...
Read More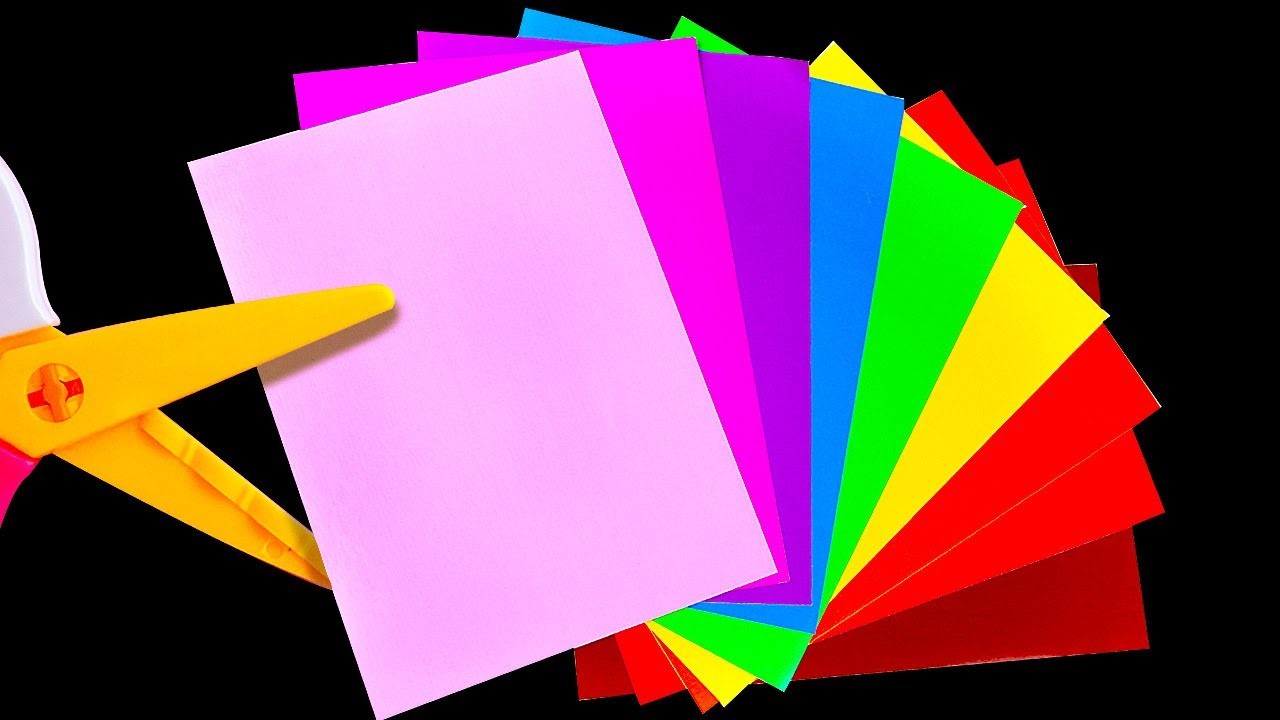
By: Olivia Parker • DIY Projects & Ideas
Introduction Are you tired of rummaging through piles of craft paper every time you need to start a new project? Organizing your craft paper can save you time and frustration, making it easier to find the perfect sheet for your next masterpiece. In this article, we will explore the best...
Read More
By: Chloe Davis • DIY Projects & Ideas
How To Organize A Bullet Journal
Introduction Are you tired of feeling disorganized and overwhelmed with all the tasks and events in your life? If so, you're not alone. Many people struggle to keep track of their schedules, to-do lists, and goals. However, there's a solution that's gaining popularity for its simplicity and effectiveness: bullet journaling....
Read More
By: Olivia Parker • DIY Projects & Ideas
Choosing the Right Balloons When it comes to organizing balloons, the first step is to choose the right ones for your event or project. Here are some factors to consider when selecting balloons: Balloon Type: There are various types of balloons to choose from, including latex, foil, and helium balloons....
Read More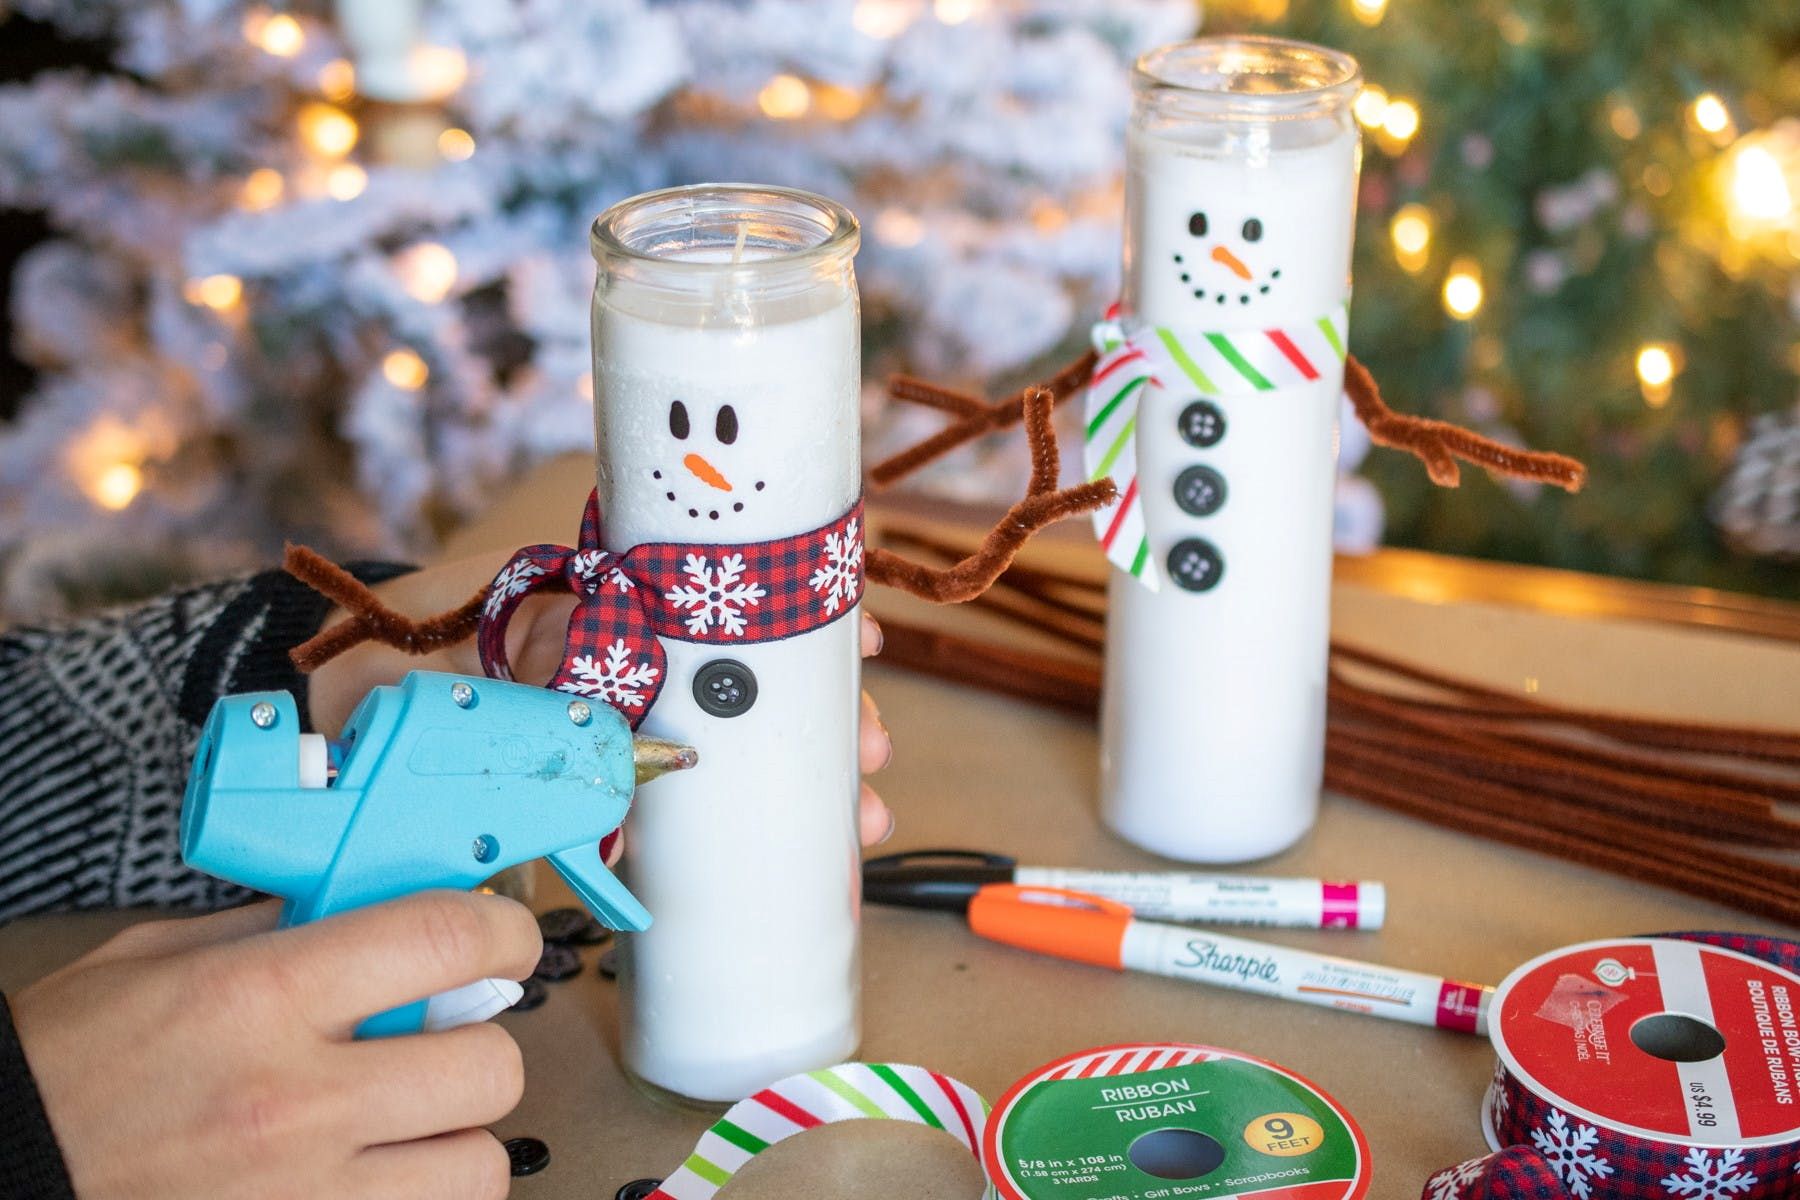
By: Sophia Turner • DIY Projects & Ideas
How To Make Dollar Store DIY Projects
Introduction Welcome to the world of dollar store DIY projects, where creativity meets affordability, and the possibilities are endless. Whether you're a seasoned DIY enthusiast or just dipping your toes into the crafting realm, the dollar store is a treasure trove of materials waiting to be transformed into stunning creations....
Read More
By: Henry Campbell • DIY Projects & Ideas
What To Put On Galvanized Pipe Threads For DIY Projects
Introduction When it comes to DIY projects involving plumbing or outdoor structures, galvanized pipes are a popular choice due to their durability and resistance to corrosion. However, ensuring a proper seal on the threaded connections is crucial to prevent leaks and maintain the integrity of the project. In this article,...
Read More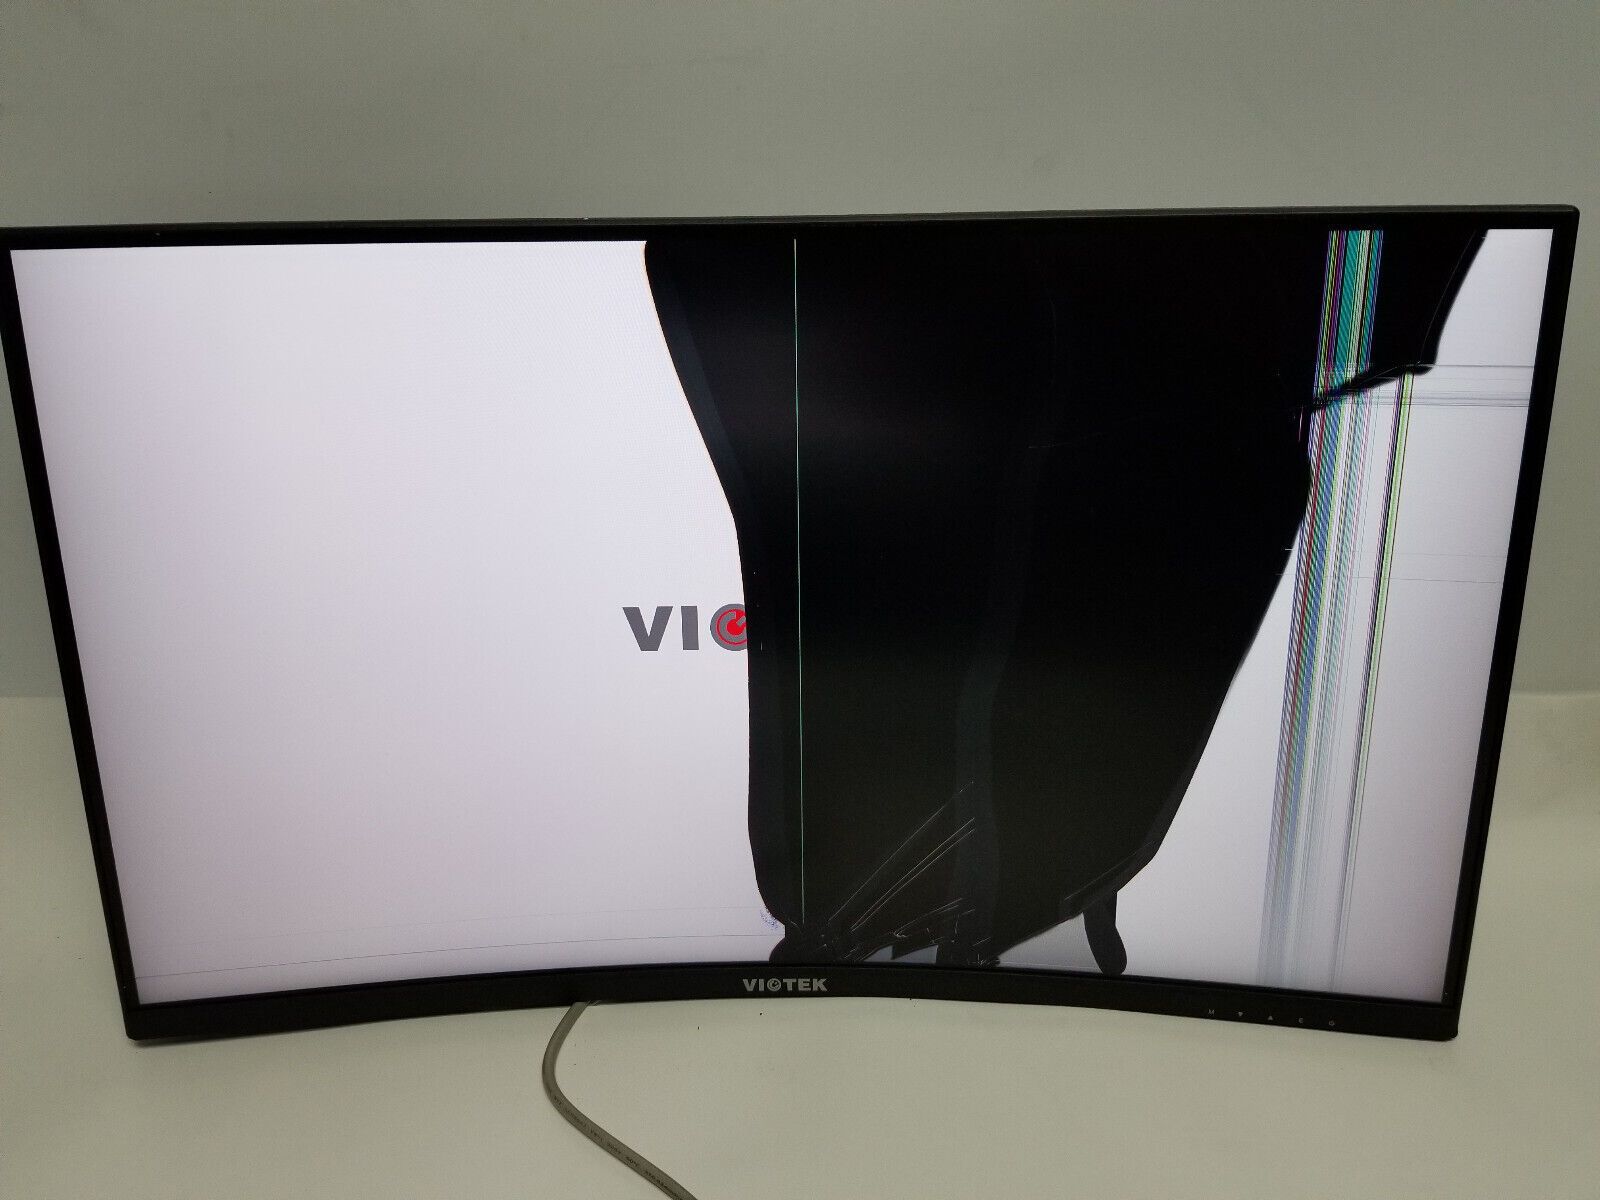
By: Olivia Parker • DIY Projects & Ideas
What DIY Projects Can I Do With A Damaged Monitor
Introduction So, you've found yourself with a damaged monitor that's no longer functional. Before you toss it in the trash, why not consider giving it a new lease on life through some creative do-it-yourself (DIY) projects? Repurposing your old monitor can not only be a fun and rewarding endeavor but...
Read More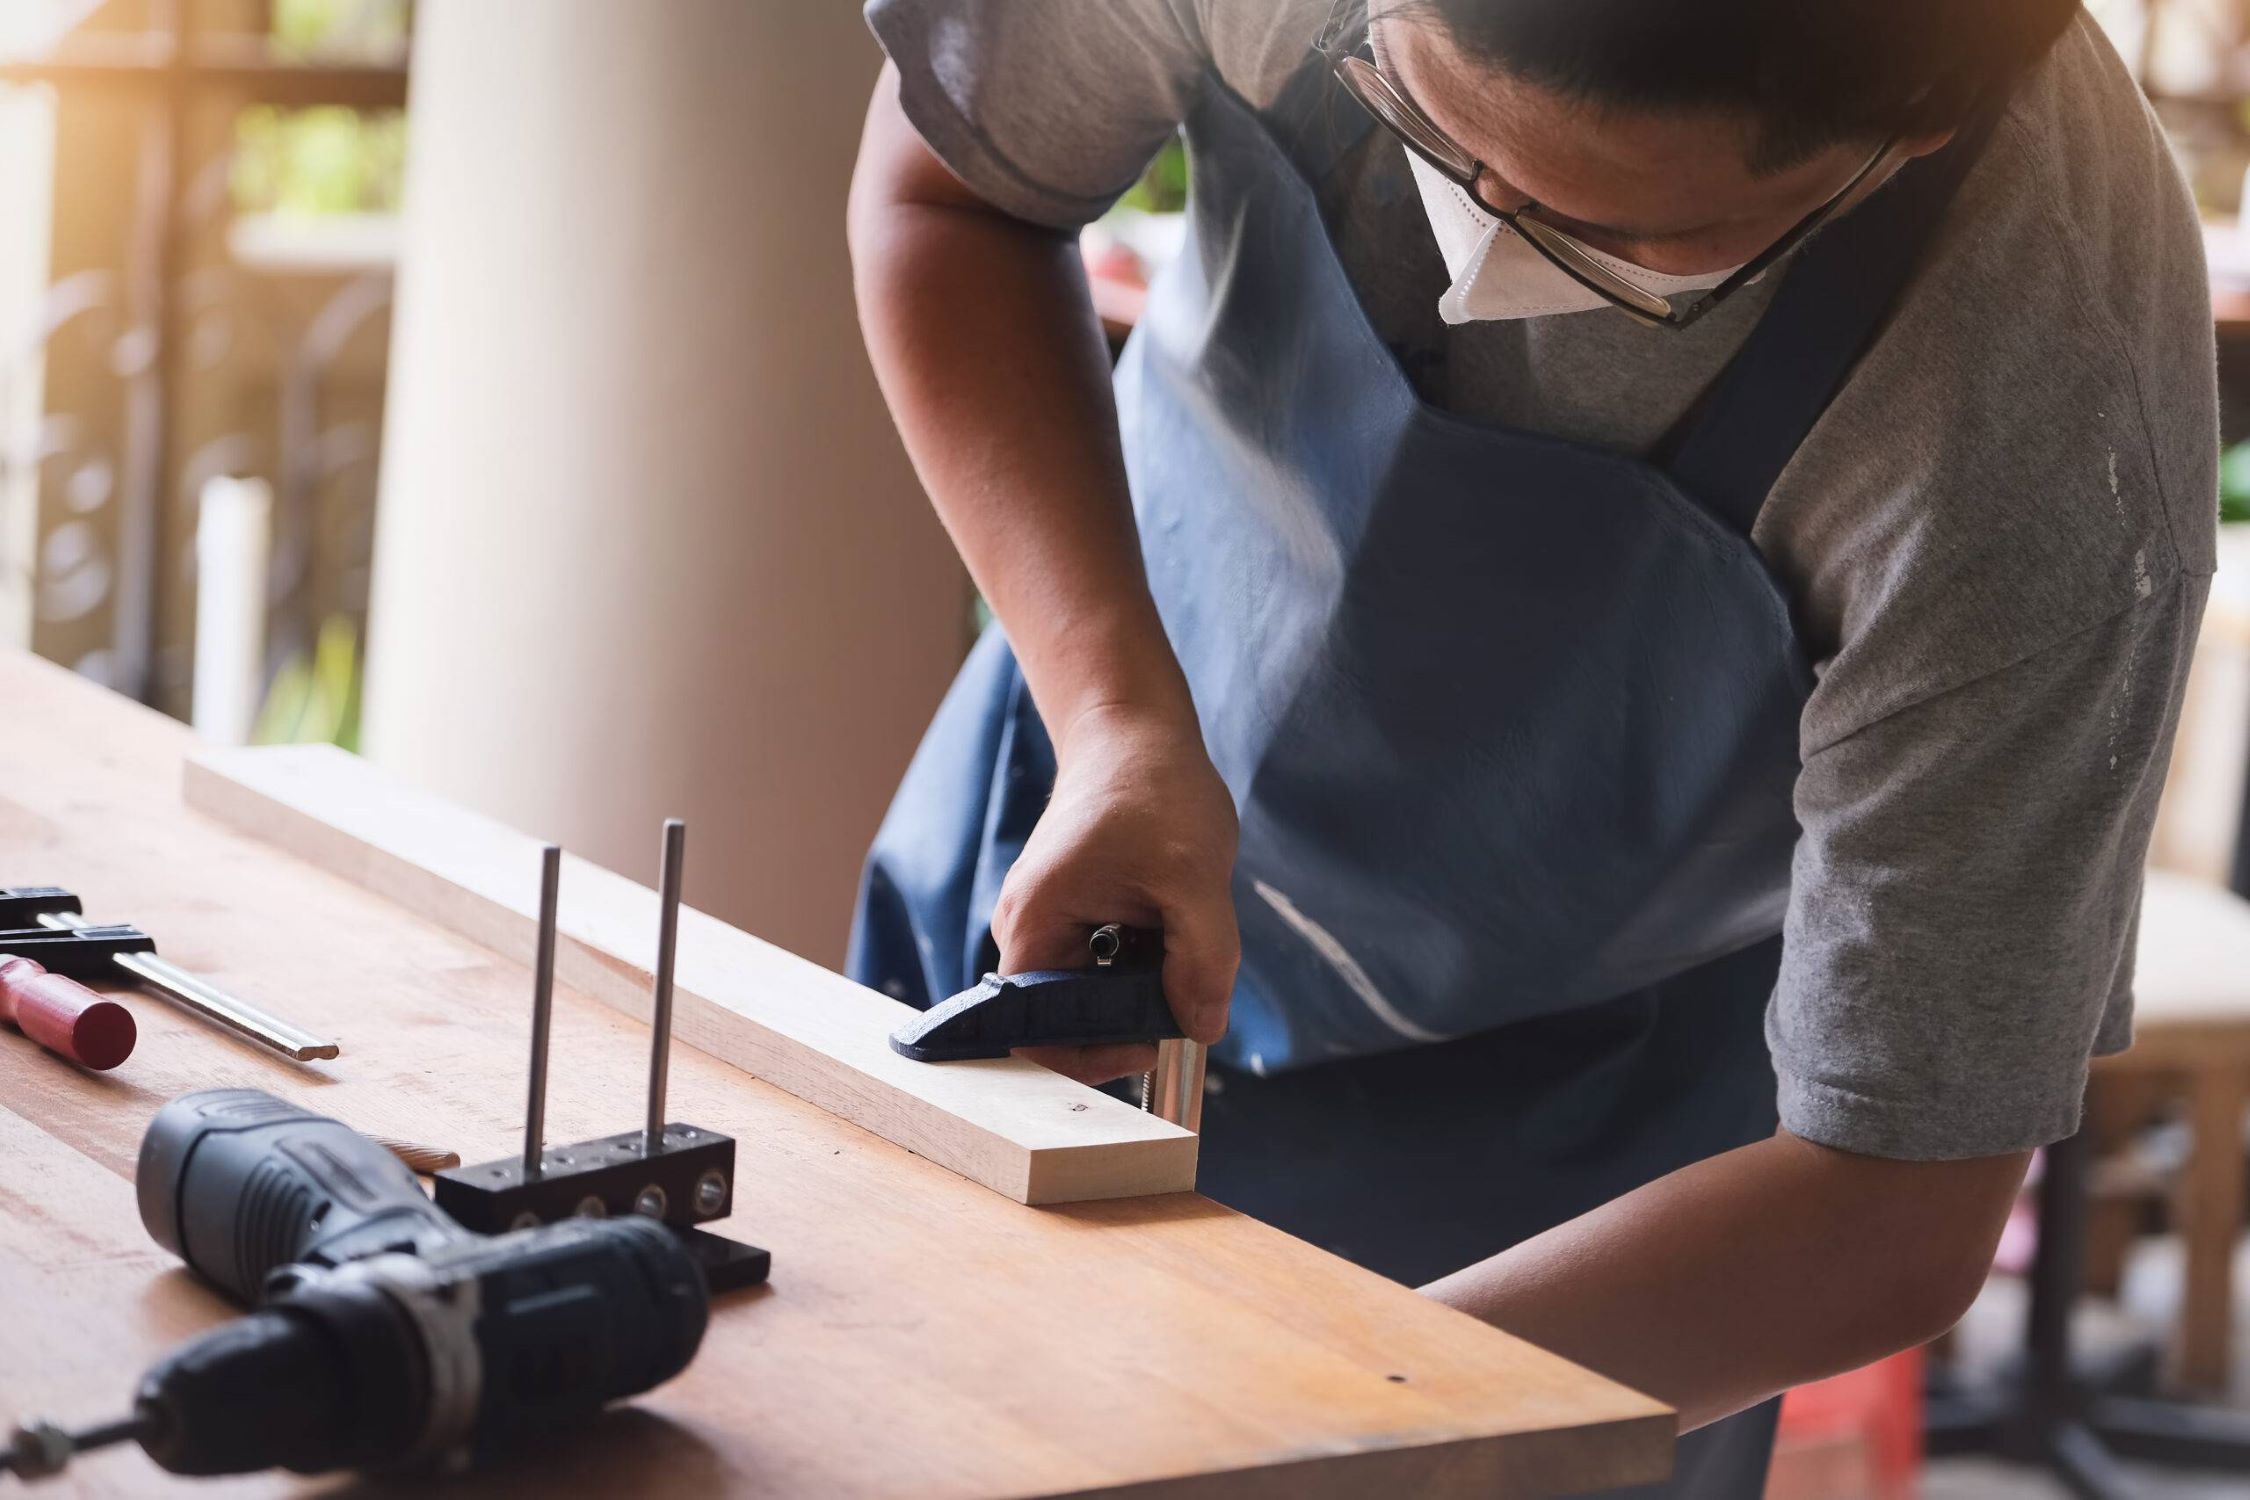
By: Alexander Johnson • DIY Projects & Ideas
What Wood Is Best For DIY Projects
Introduction Embarking on a do-it-yourself (DIY) project is an exciting endeavor, allowing you to unleash your creativity and craftsmanship. Whether you’re constructing a piece of furniture, revamping your living space, or crafting a unique decor item, the choice of wood is a crucial decision that significantly impacts the outcome of...
Read More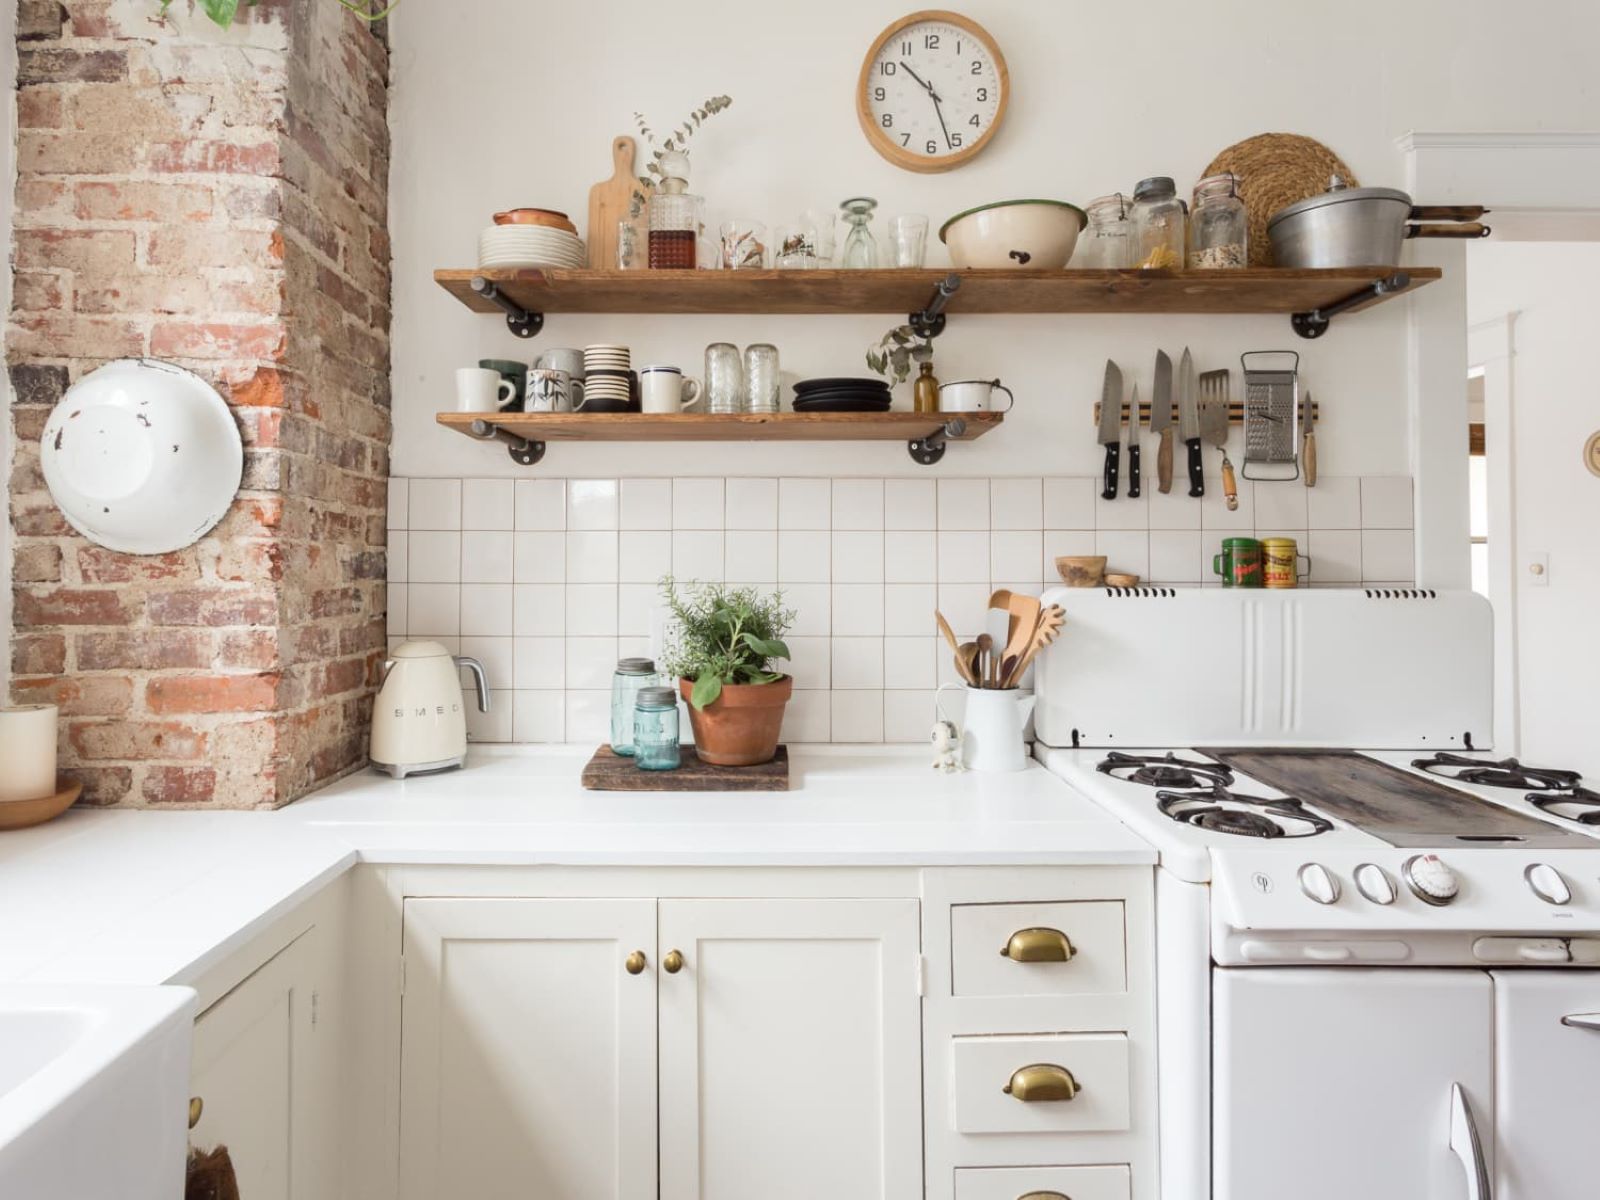
By: Grace Wilson • DIY Projects & Ideas
Where To Buy Farmhouse Pipes For DIY Projects
Introduction Understanding the Versatility of Farmhouse Pipes in DIY Projects When it comes to DIY projects, the allure of farmhouse pipes cannot be overstated. These versatile and durable components have become a staple in modern interior and exterior design, offering a unique blend of functionality and aesthetic appeal. Whether you're...
Read More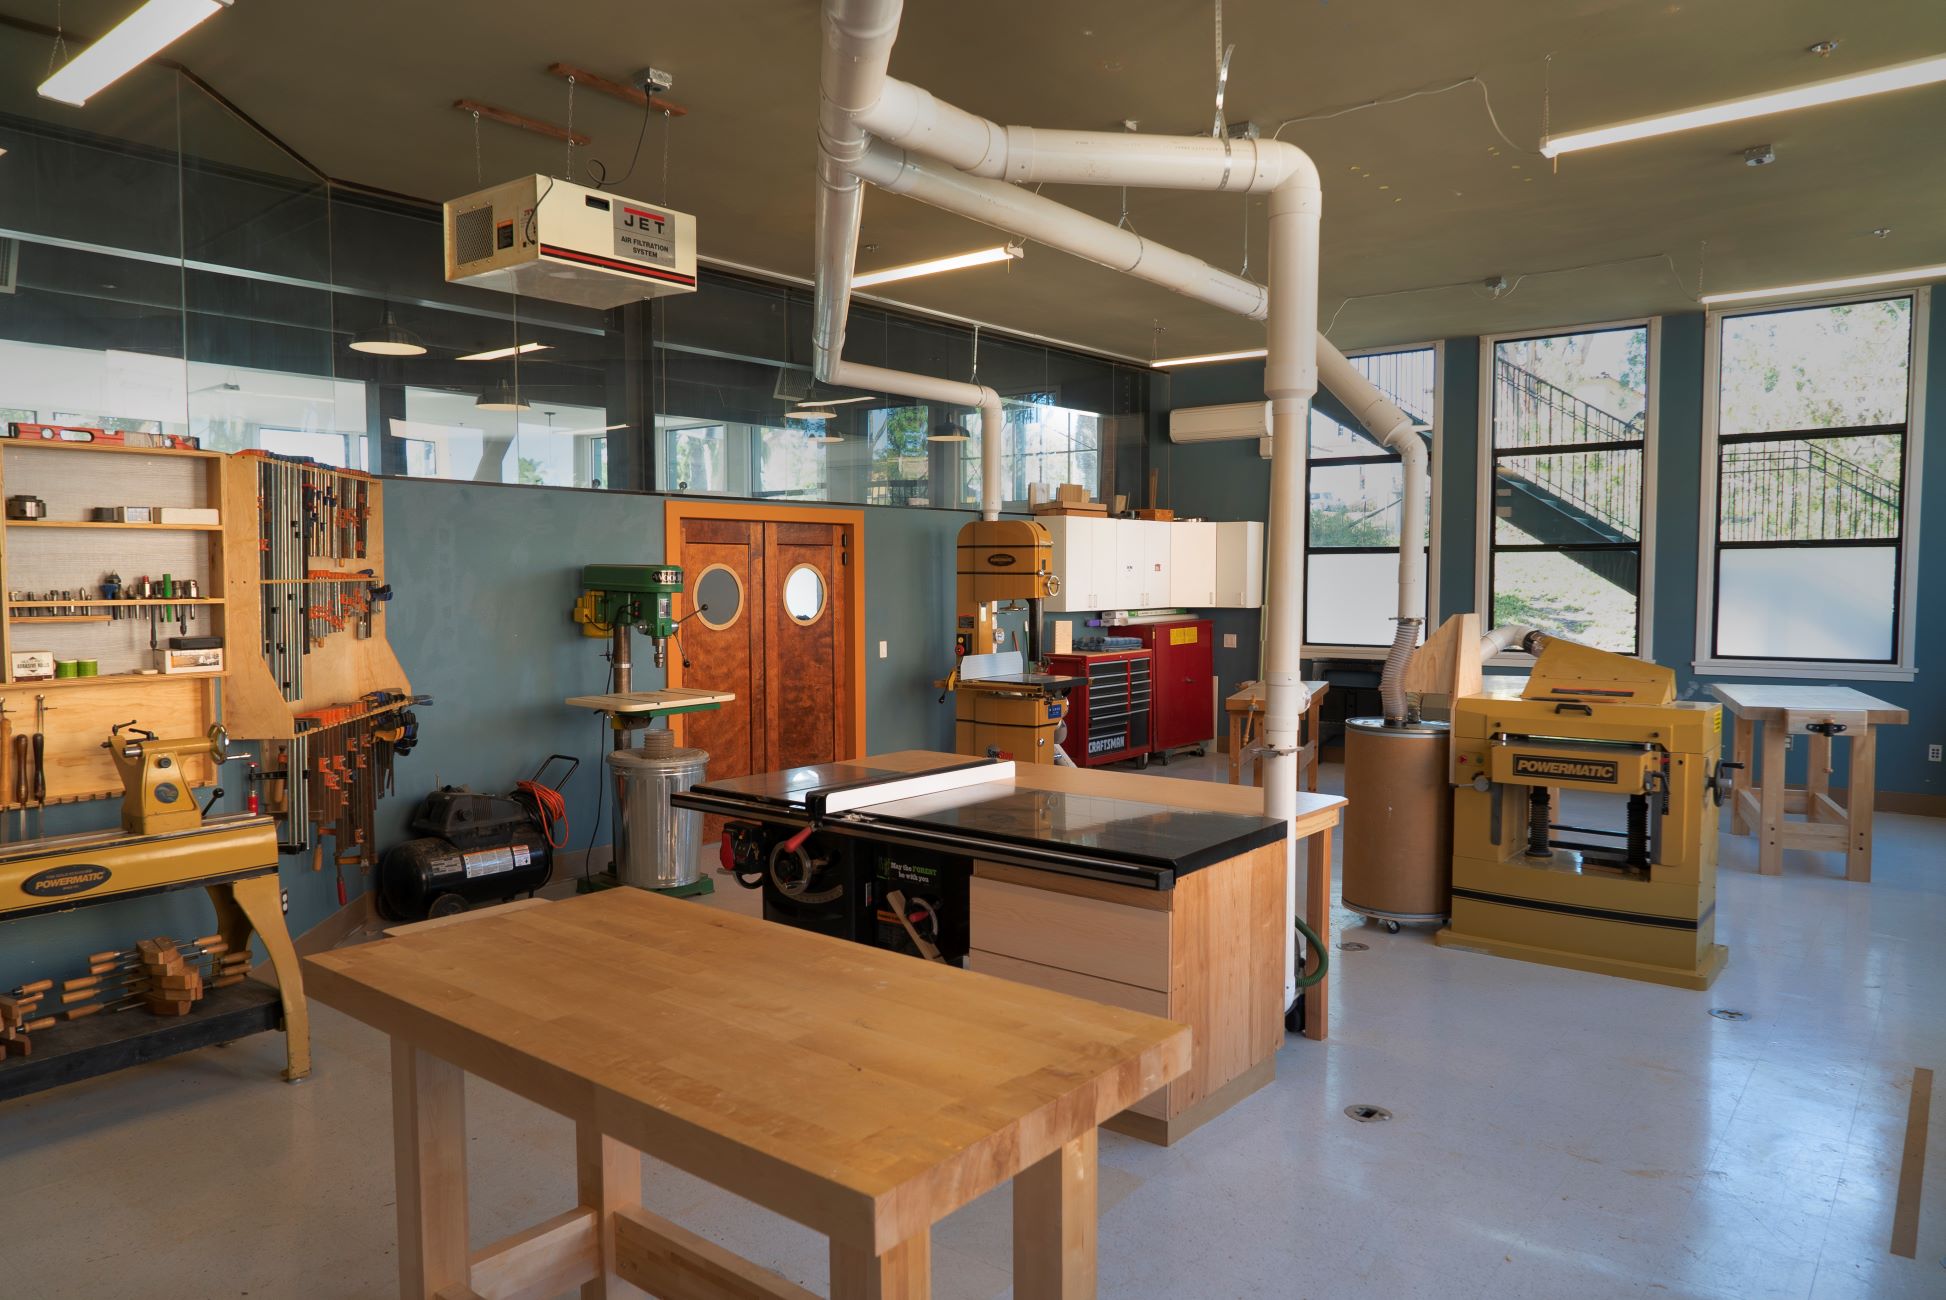
By: James Anderson • DIY Projects & Ideas
Where To Build DIY Projects In San Diego – Woodworking
Introduction Are you a DIY enthusiast in San Diego looking to unleash your creativity and craftsmanship through woodworking projects? Whether you're a seasoned woodworker or just starting out, San Diego offers a plethora of inspiring locations and resources for your next DIY endeavor. From serene coastal settings to bustling urban...
Read More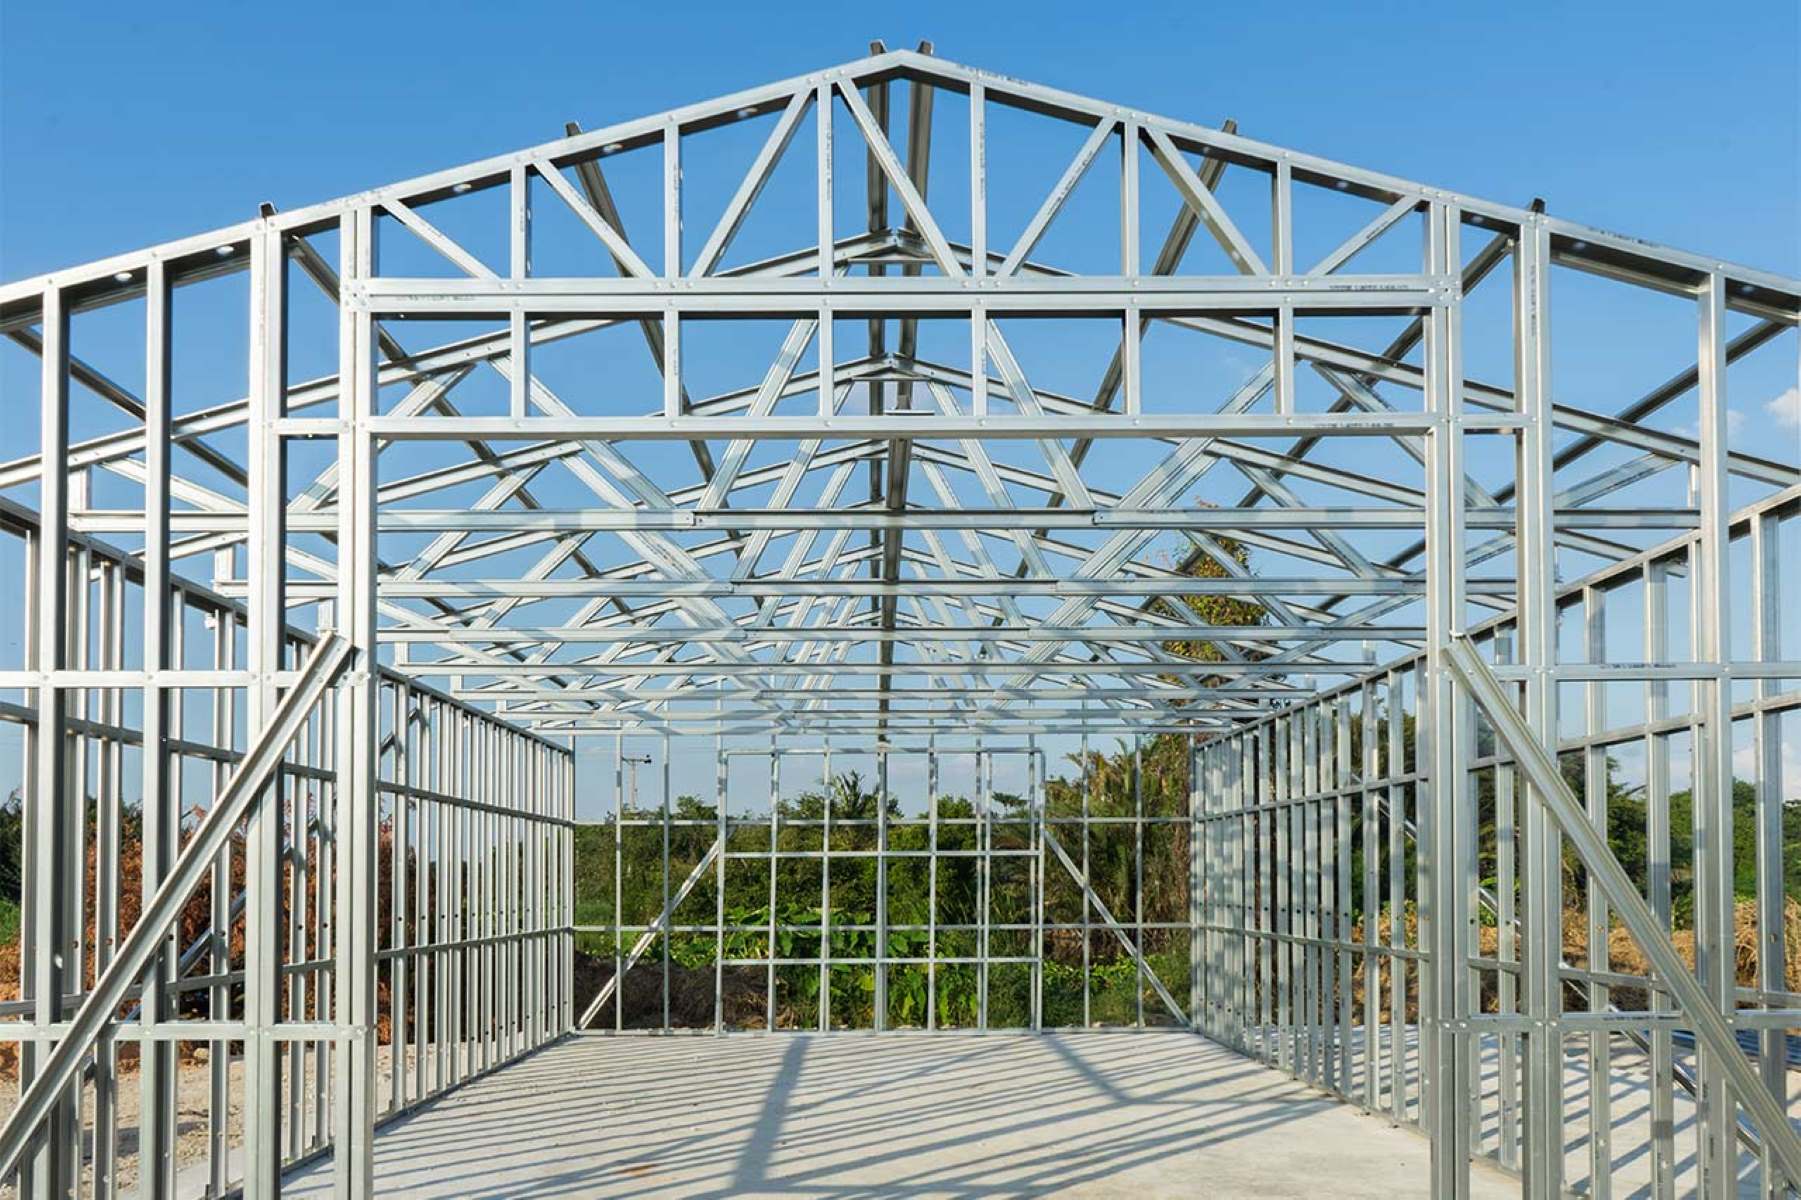
By: Grace Wilson • DIY Projects & Ideas
DIY Projects: How To Build A House On A Metal Trailer Frame?
Introduction Welcome to the world of DIY home construction! Building a house on a metal trailer frame is an exciting and rewarding project that allows you to create a custom living space tailored to your needs and preferences. Whether you’re looking to downsize, live off the grid, or simply enjoy...
Read More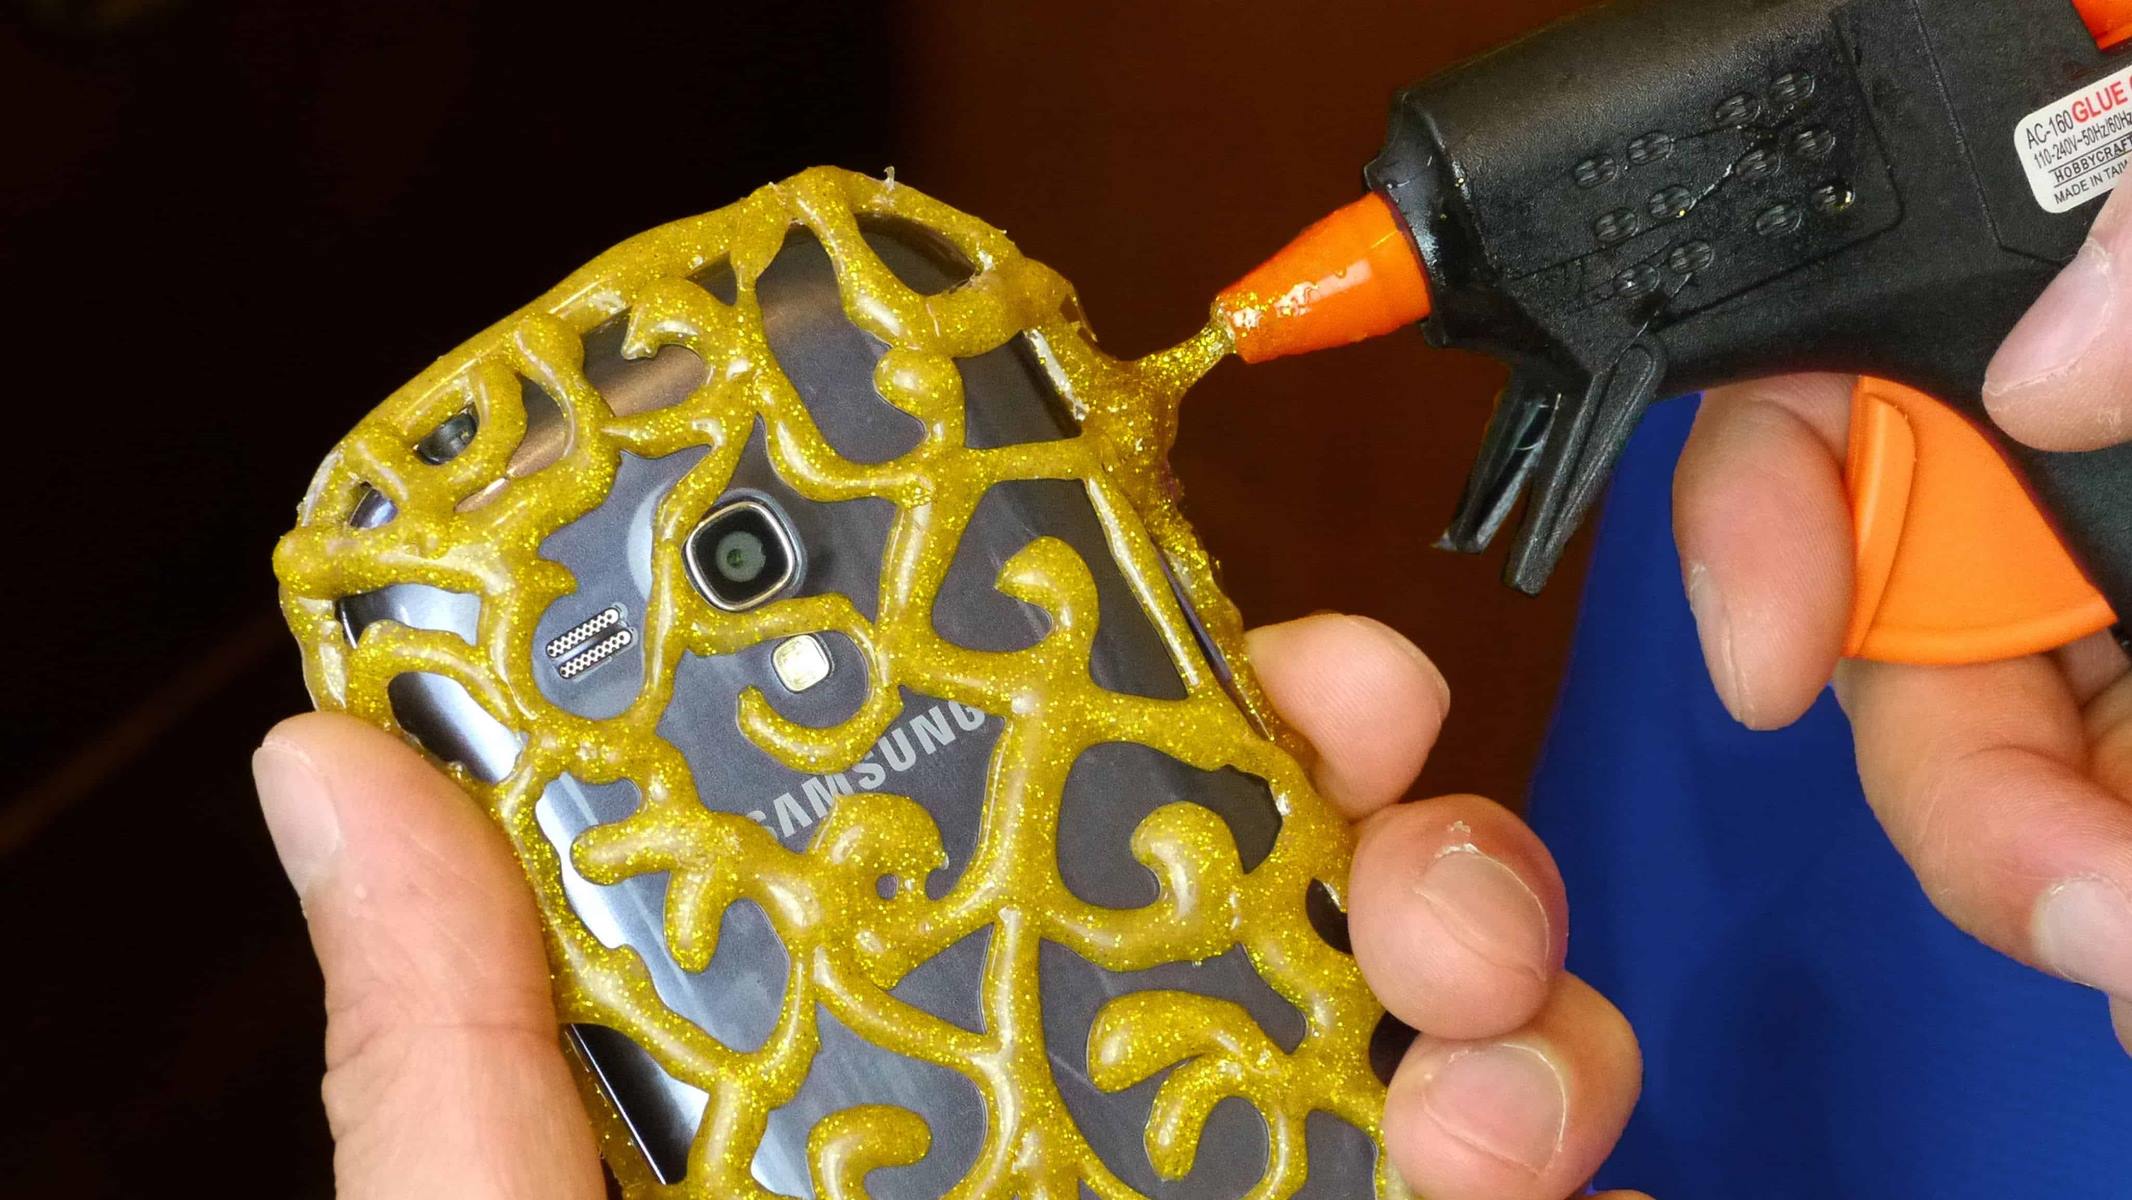
By: Isabella Mitchell • DIY Projects & Ideas
What DIY Projects For A Glue Gun
Introduction Welcome to the exciting world of do-it-yourself projects using a glue gun! Whether you’re a seasoned crafter or a novice DIY enthusiast, the versatility and ease of use of a glue gun make it a must-have tool for a wide range of creative endeavors. From home decor and fashion...
Read More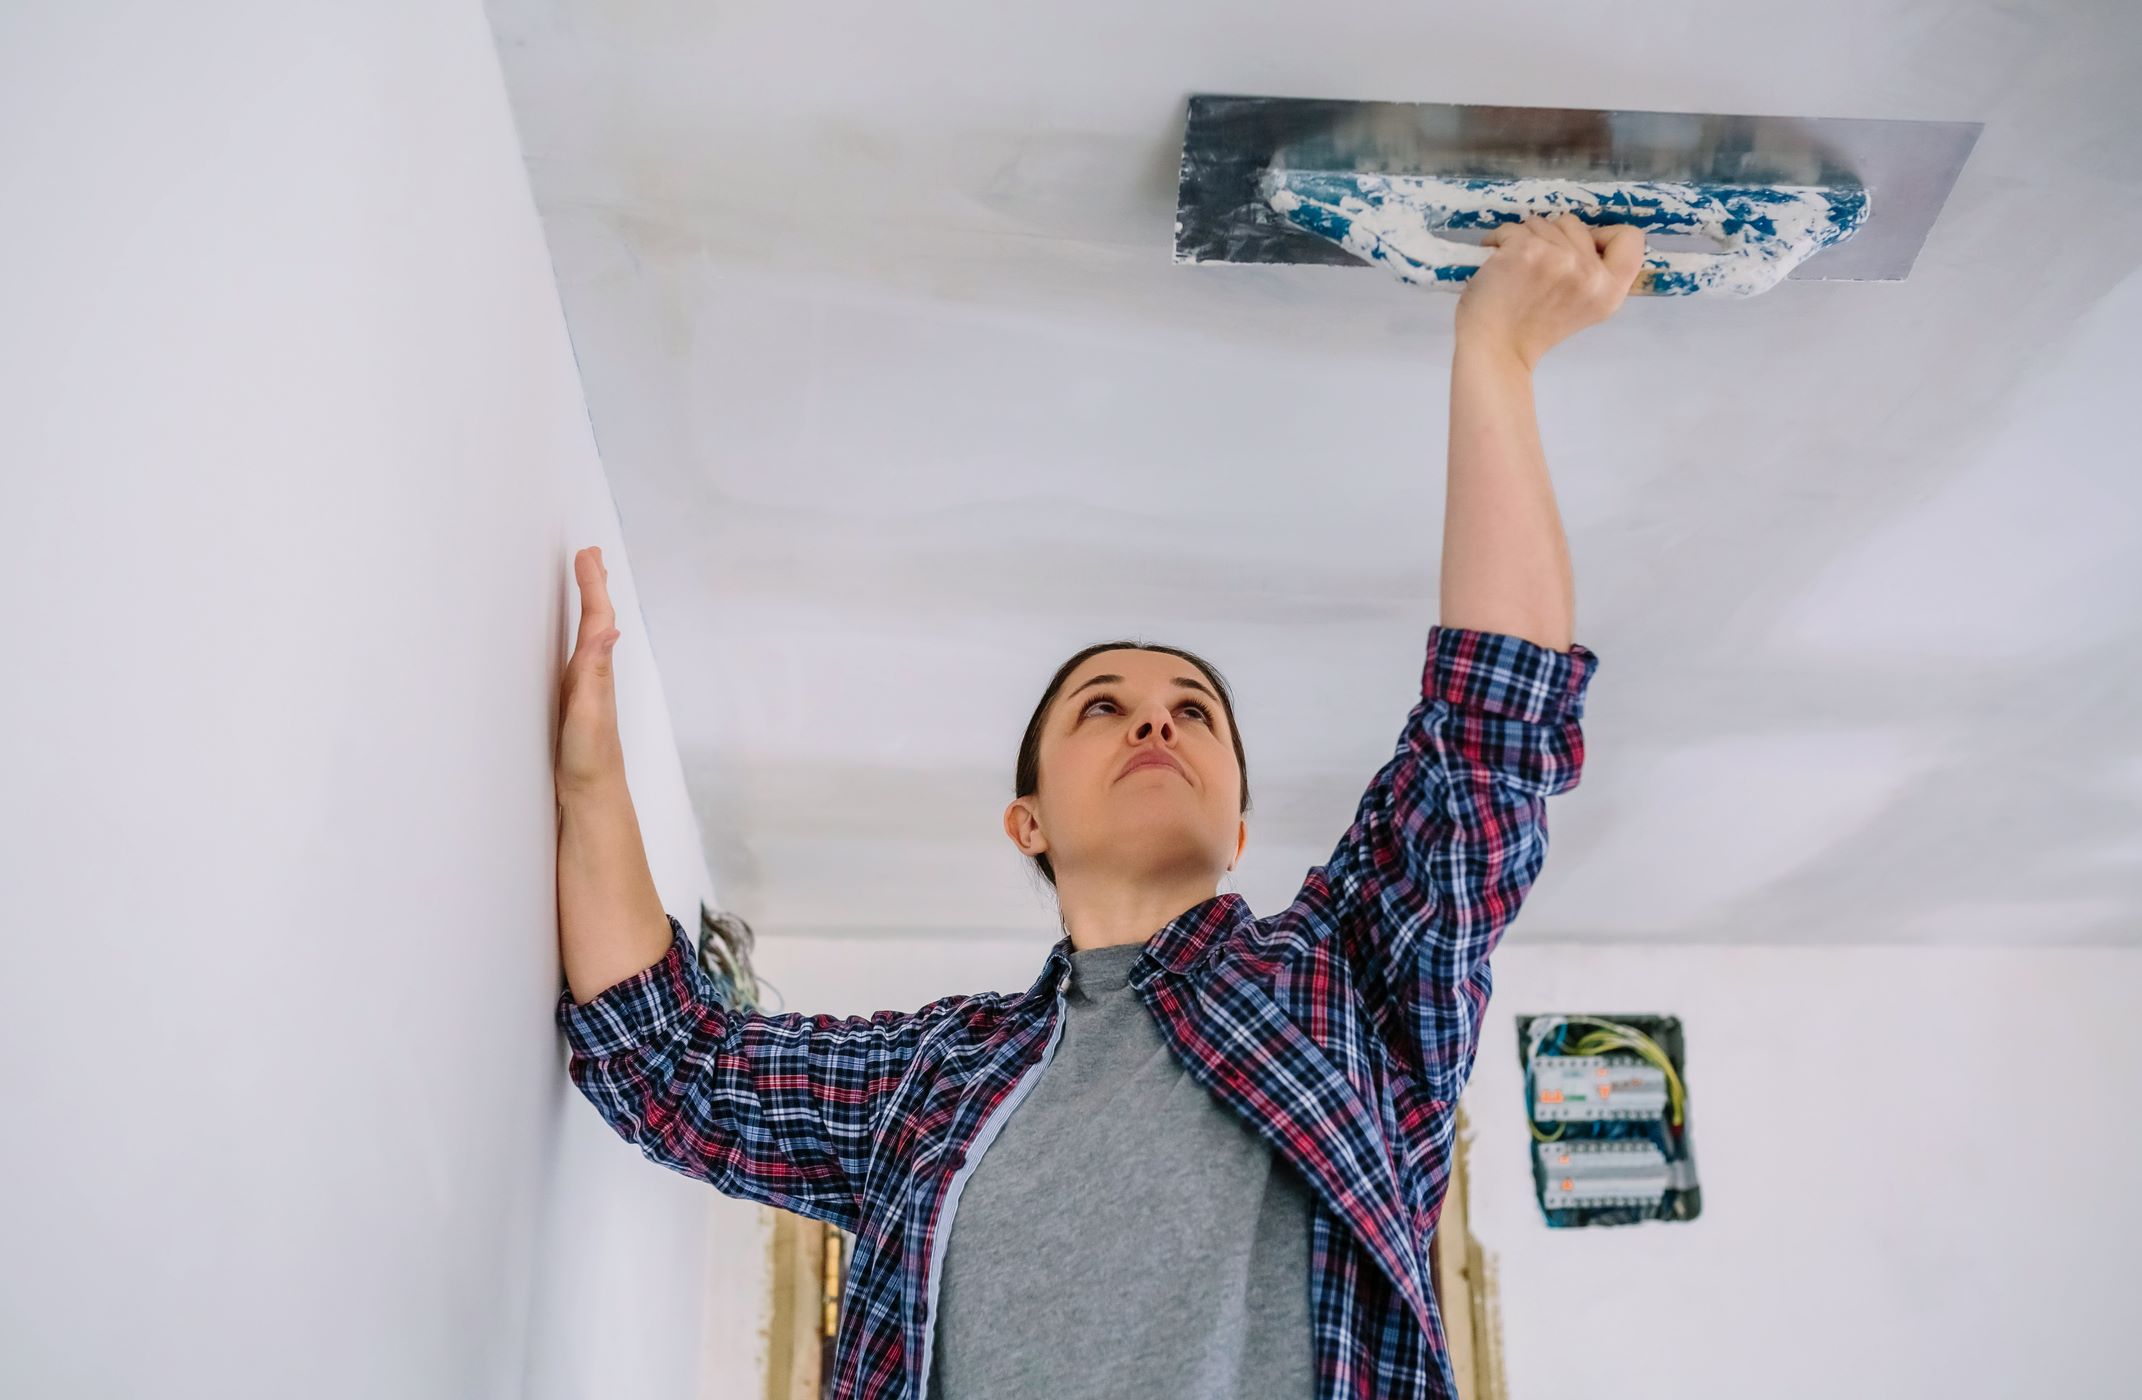
By: Chloe Davis • DIY Projects & Ideas
DIY Projects: How To Repair Pillowed Ceiling Drywall
Introduction Welcome to the world of do-it-yourself home improvement projects! If you’ve noticed unsightly bulges or sagging areas on your ceiling, you might be dealing with a common issue known as pillowed ceiling drywall. This occurs when the drywall becomes damaged or weakened, resulting in a visible deformation on the...
Read More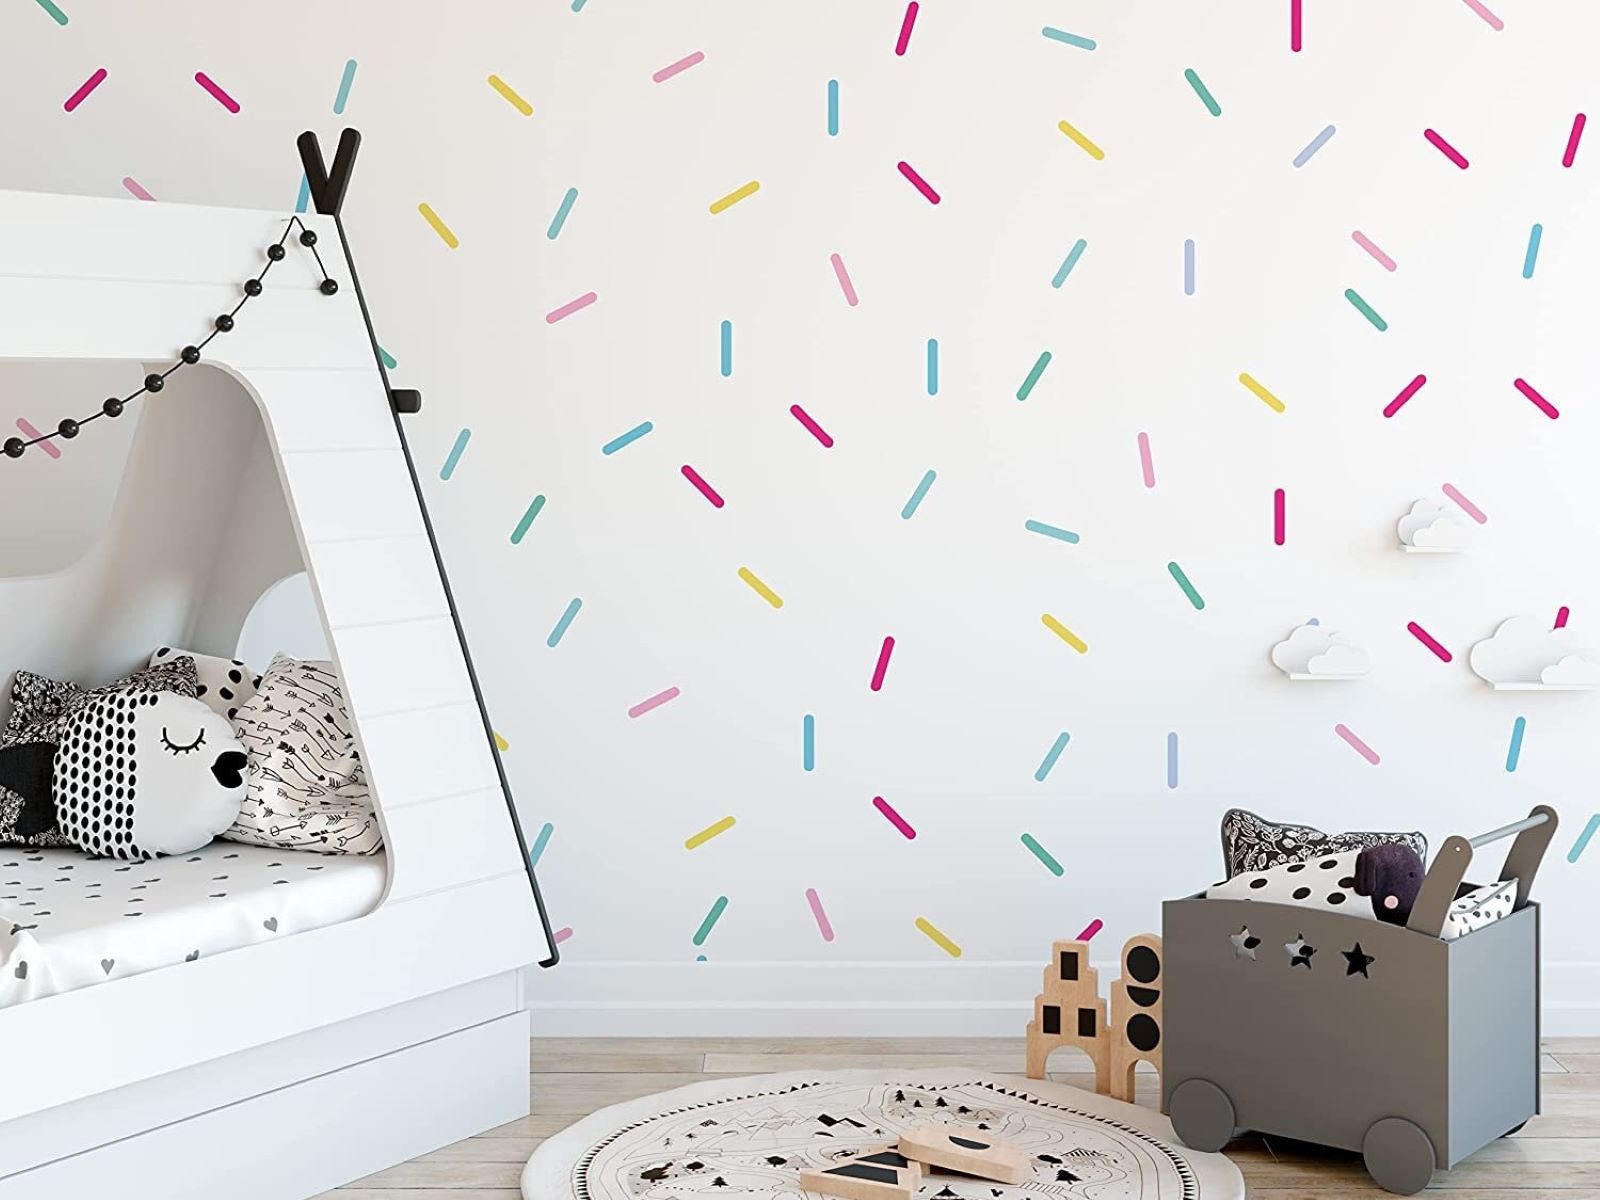
By: Samuel Turner • DIY Projects & Ideas
How To Use Confetti Stickers In DIY Projects
Introduction Are you ready to add a touch of whimsy and charm to your DIY projects? Look no further than confetti stickers! These delightful little embellishments are versatile, fun, and can elevate the visual appeal of any project. Whether you're a seasoned crafter or just starting out, confetti stickers can...
Read More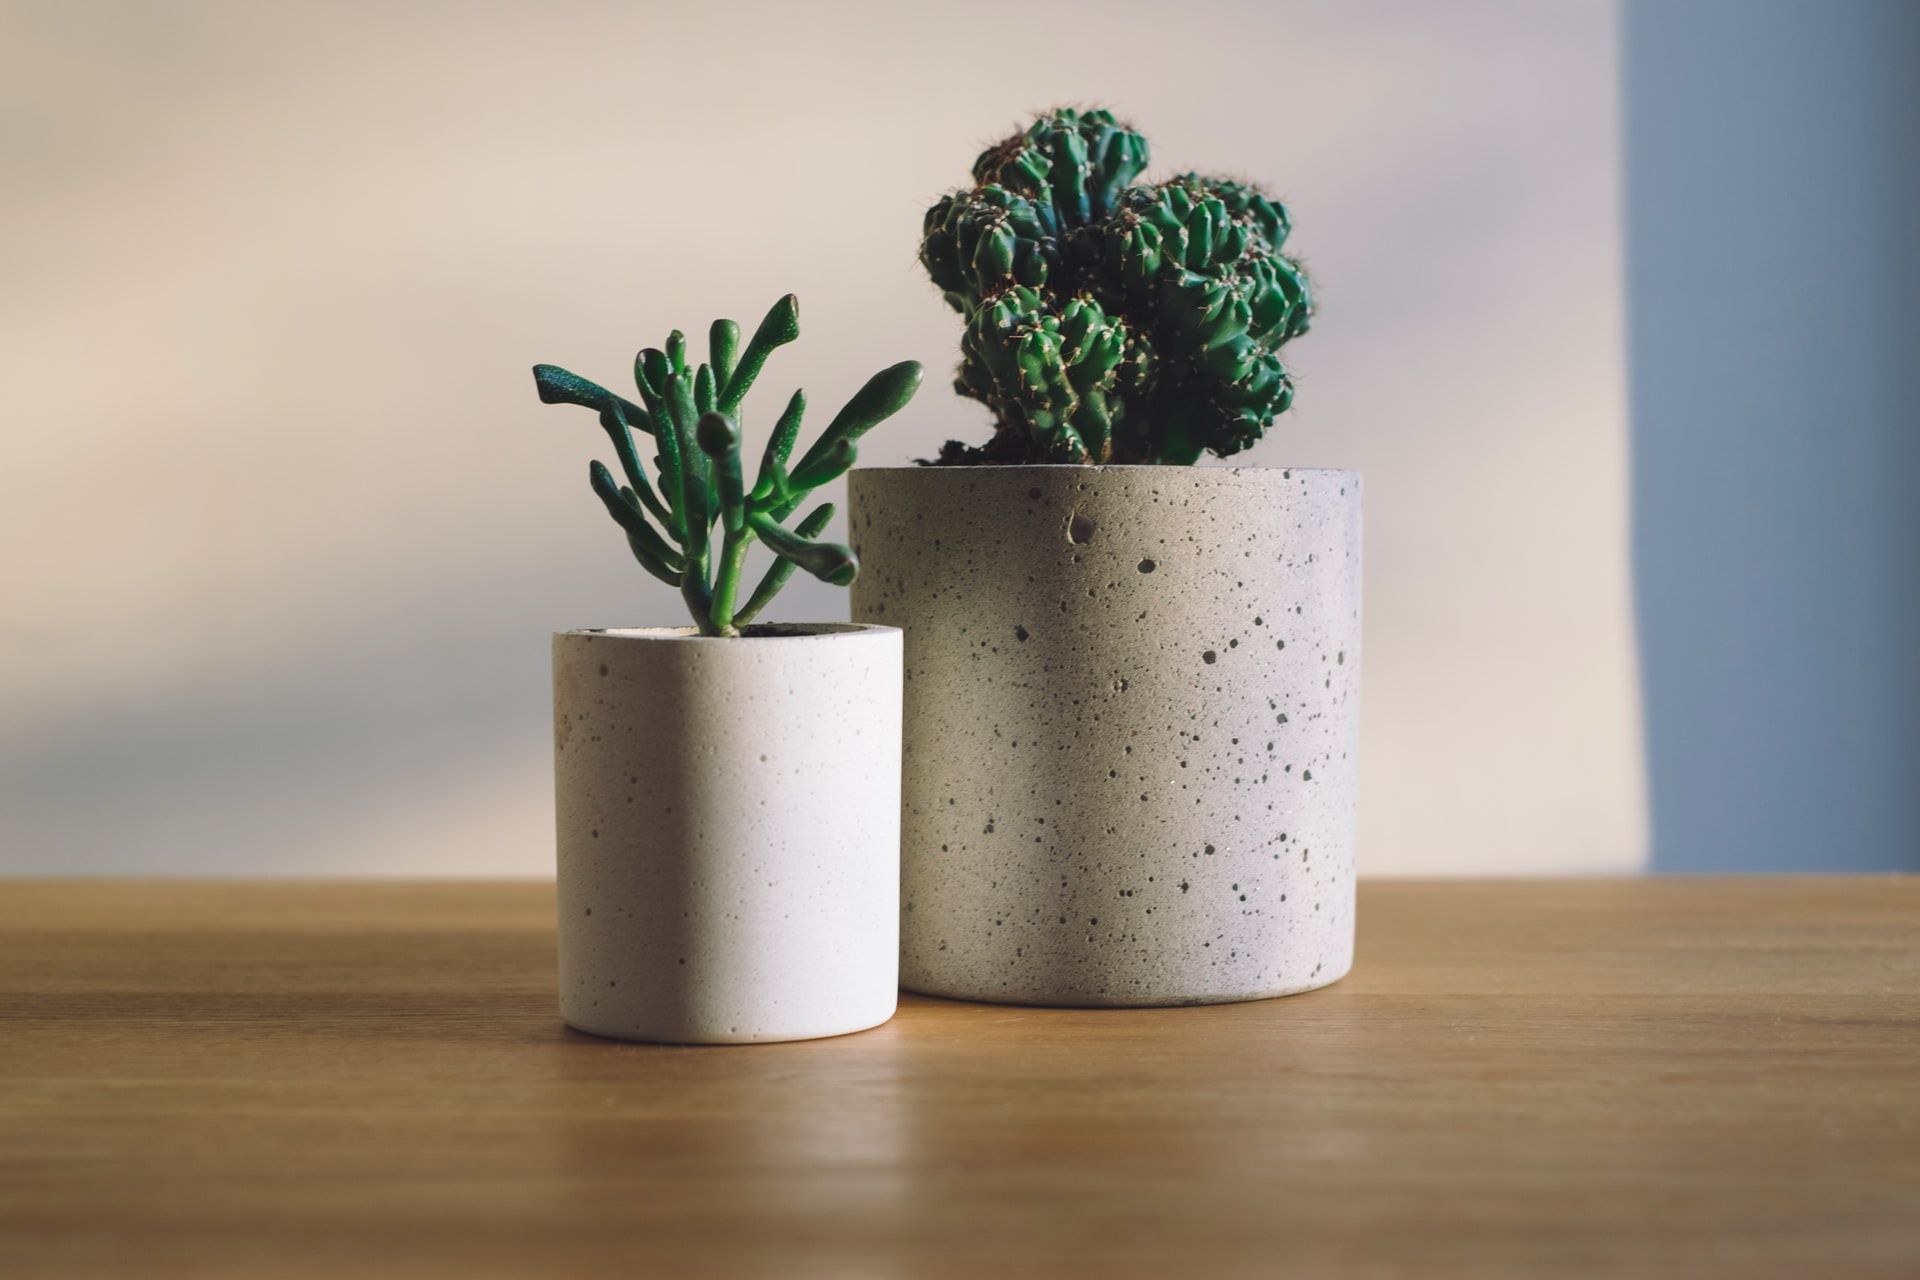
By: William Harrison • DIY Projects & Ideas
What Kind Of Concrete To Use In DIY Projects
** Introduction ** Embarking on a do-it-yourself (DIY) project is a thrilling and fulfilling endeavor. Whether you're revamping your outdoor space with a new patio, crafting custom concrete planters, or constructing a sturdy foundation for a shed, the type of concrete you use plays a pivotal role in the project's...
Read More
By: Daniel Carter • DIY Projects & Ideas
DIY Projects: How To Drill Into Cement Walls
Introduction Are you ready to take your DIY projects to the next level? Drilling into cement walls might seem like a daunting task, but with the right tools, materials, and know-how, you can tackle this challenge like a pro. Whether you're looking to hang a heavy mirror, install a shelf,...
Read More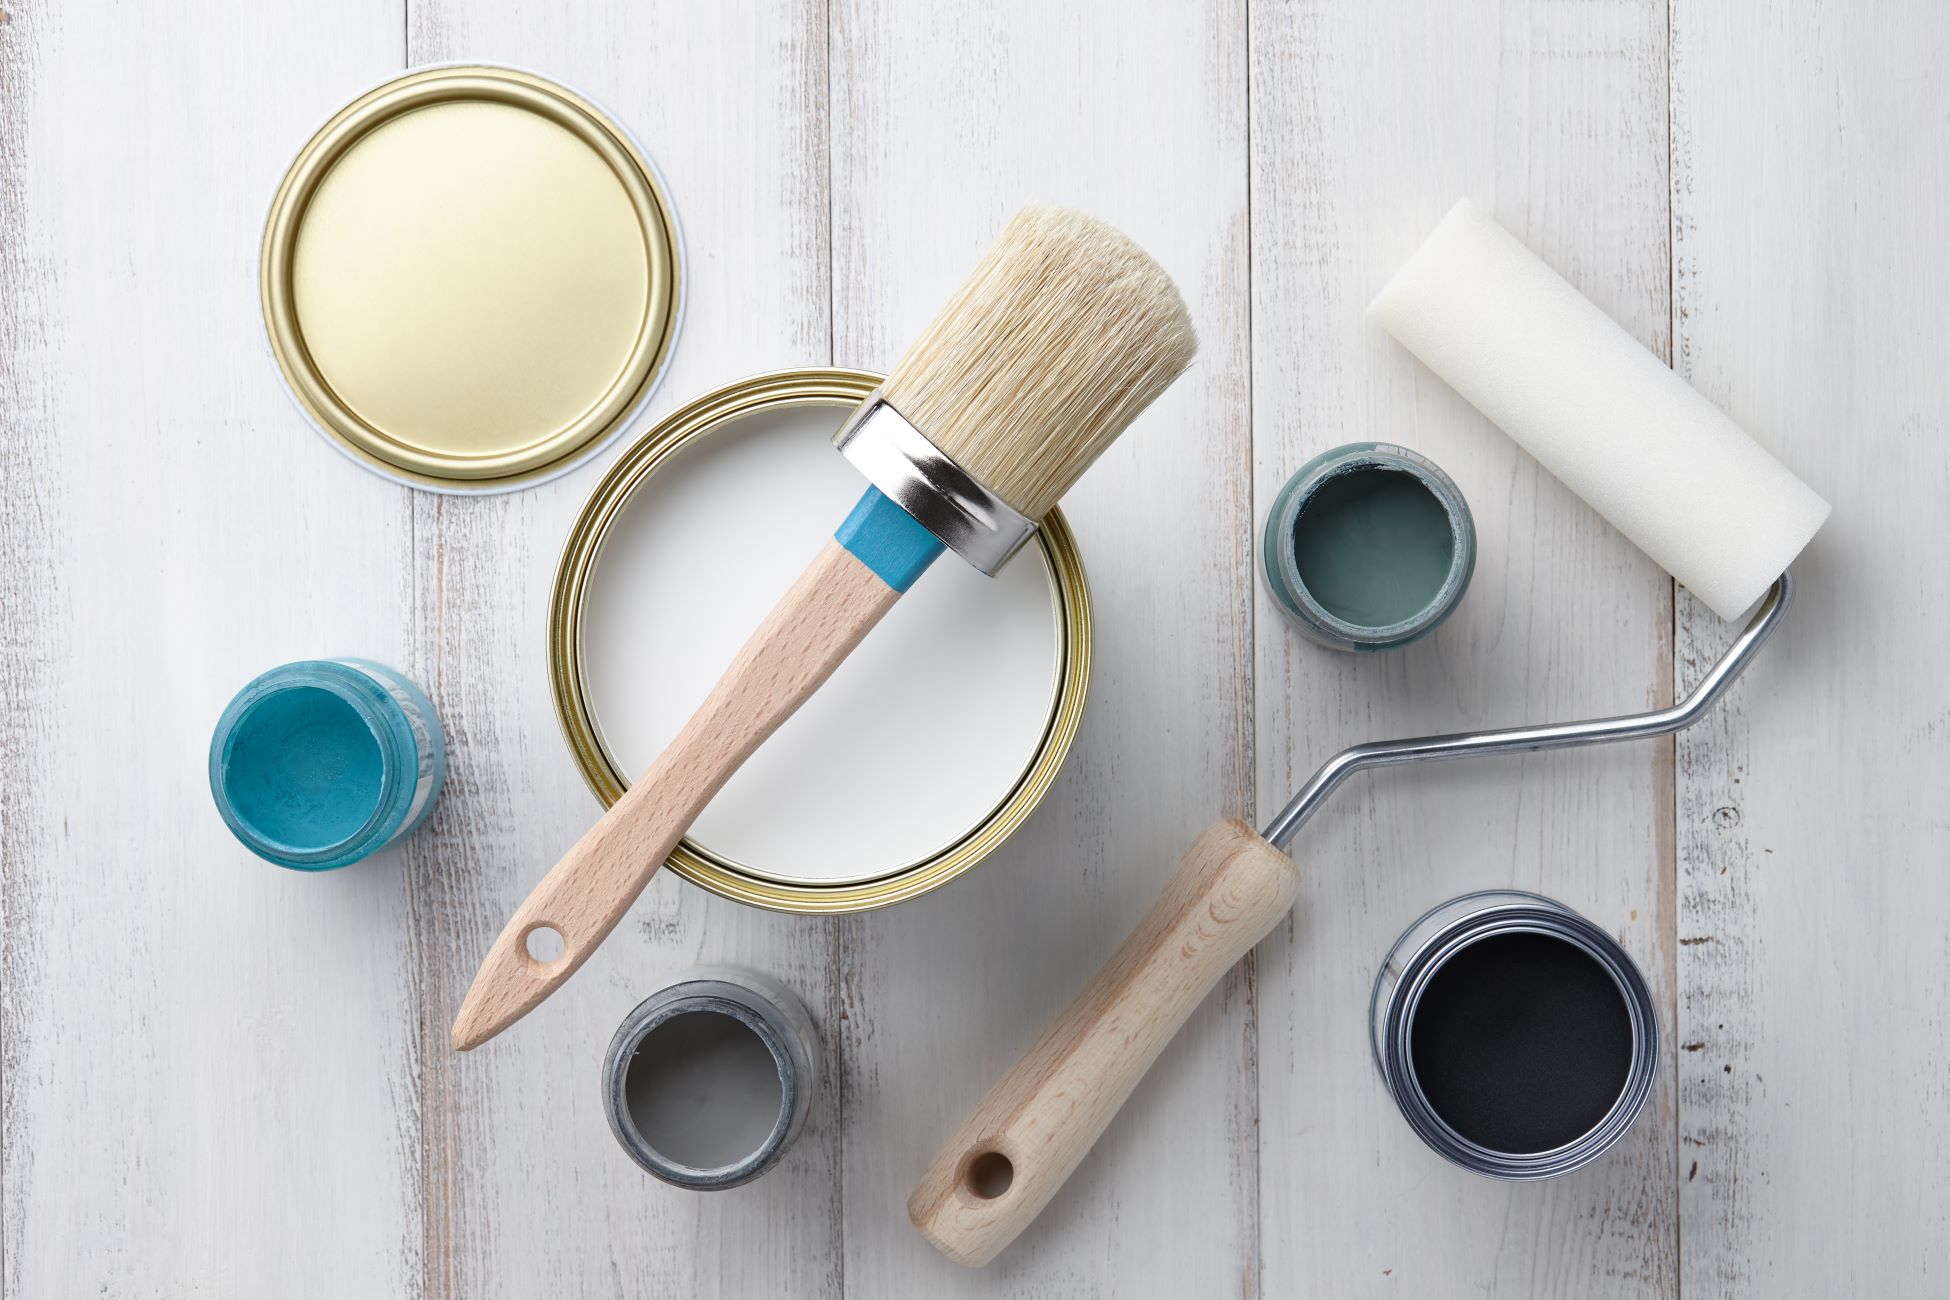
By: Chloe Davis • DIY Projects & Ideas
What Kind Of Paint Is Used For DIY Projects
Introduction When it comes to DIY projects, choosing the right type of paint is crucial for achieving the desired results. The type of paint you select can significantly impact the appearance, durability, and overall success of your project. With a myriad of paint options available, it's essential to understand the...
Read More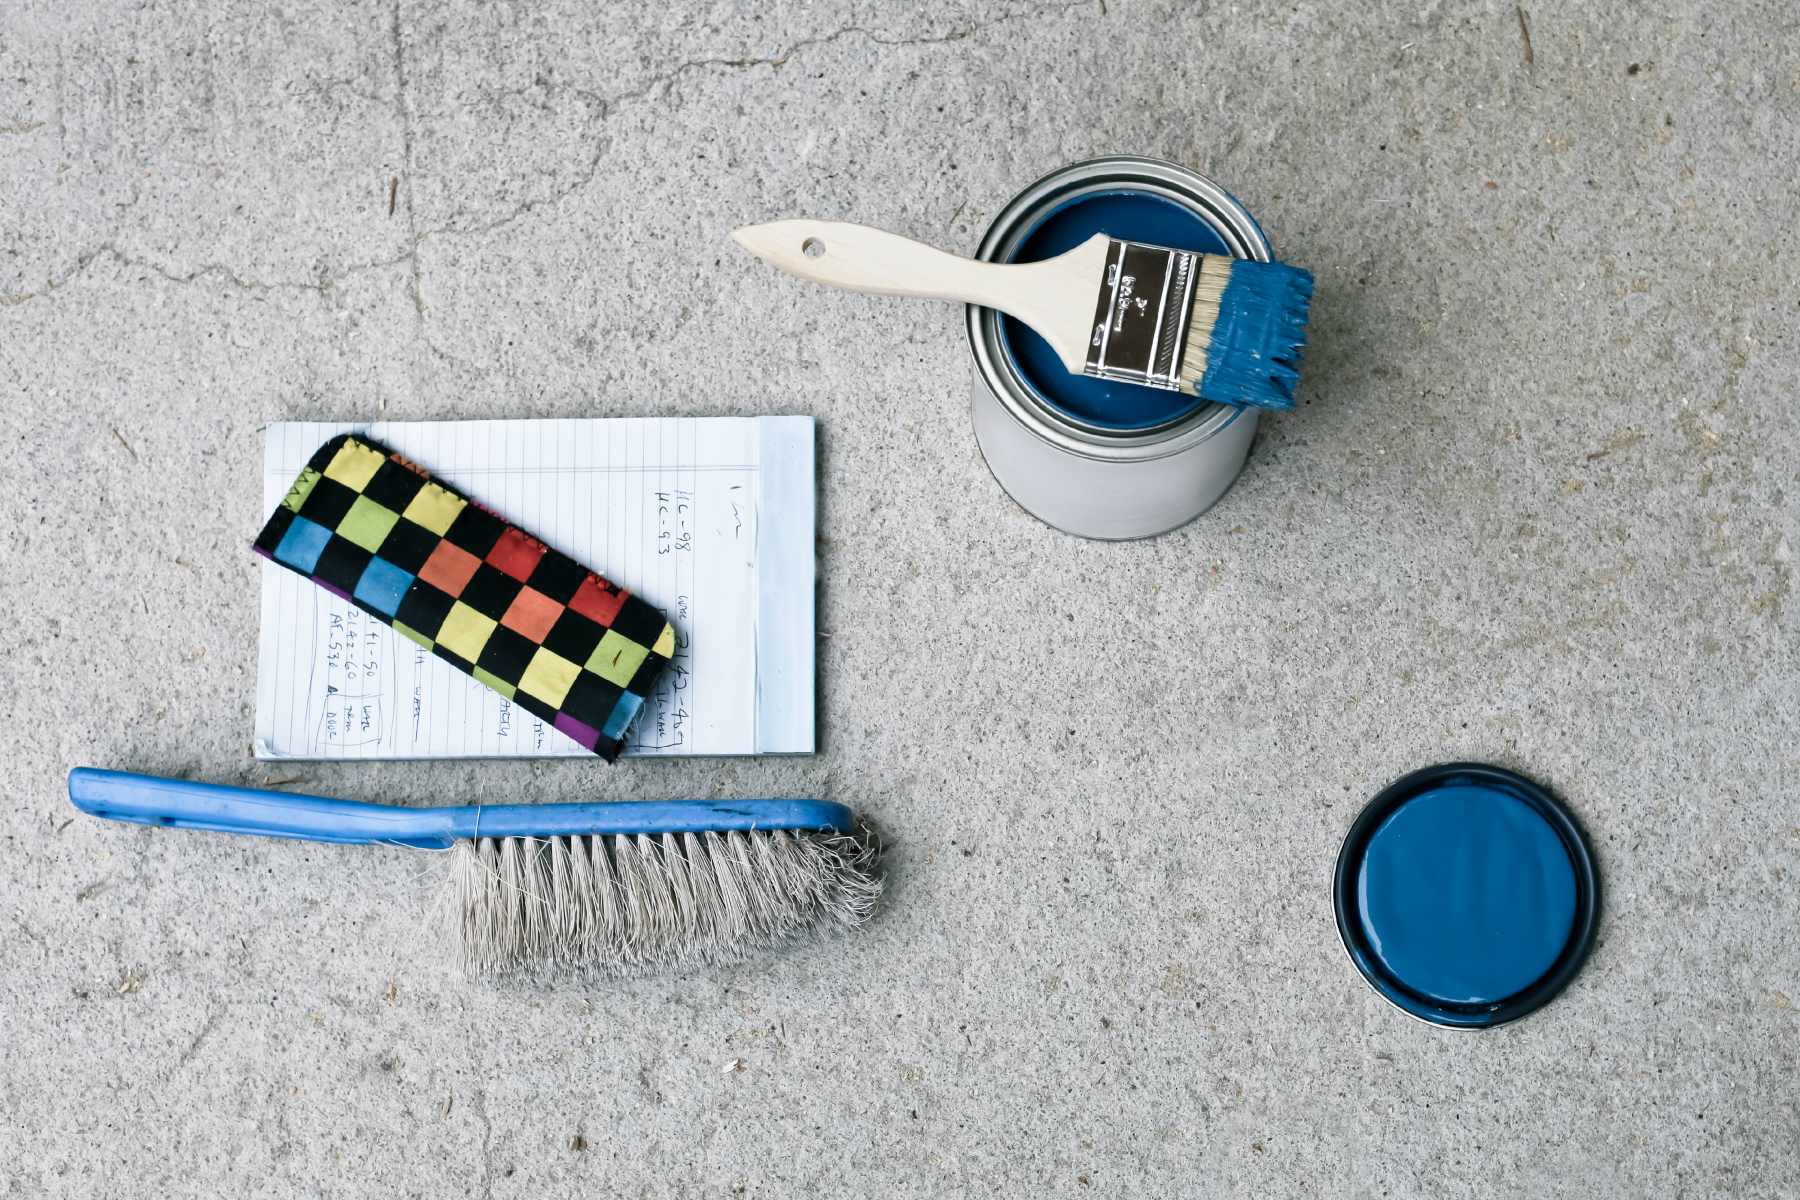
By: Chloe Davis • DIY Projects & Ideas
What Type Of Paint To Use With Cement For DIY Projects
Introduction Welcome to the world of do-it-yourself (DIY) projects! Whether you're a seasoned DIY enthusiast or just venturing into the realm of home improvements, working with cement can offer a multitude of creative possibilities. Cement is a versatile material that is not only durable but also provides a sturdy foundation...
Read MoreFeatured
By: William Harrison • Articles
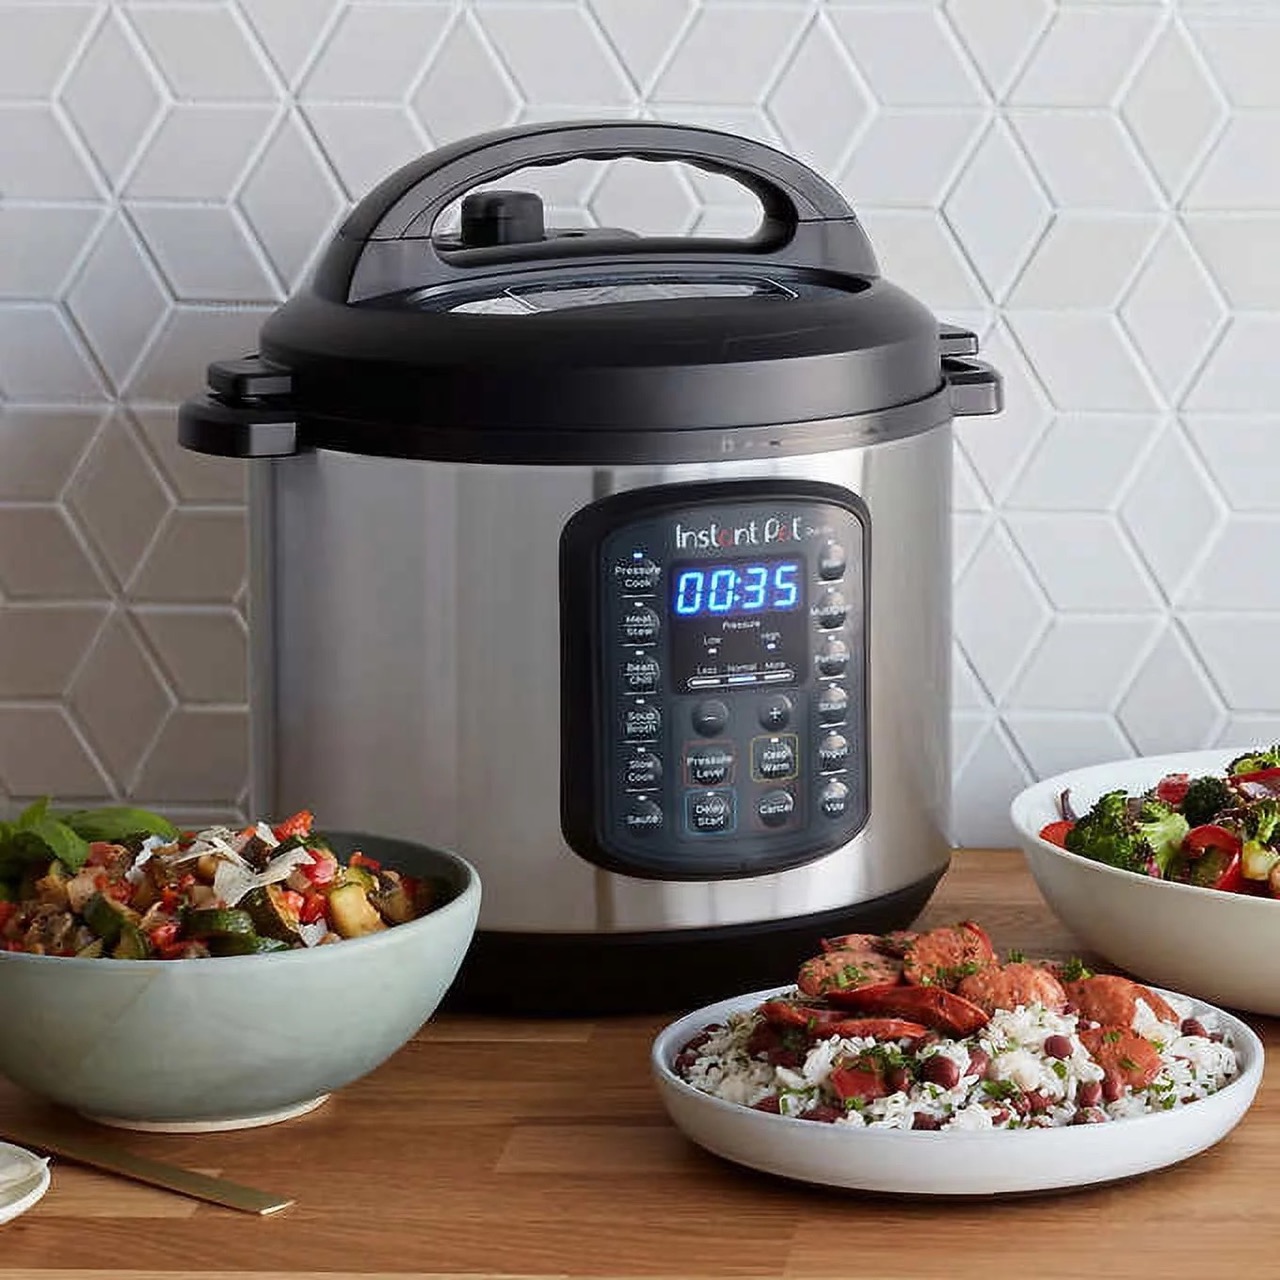
8 Superior Instant Pot Duo Sv 6Qt Multi-Use Pressure Cooker For 2024
Read More
By: Olivia Parker • 100 Best Bedroom Furniture That Will Make Heads Turn
11 Amazing King Bed Sheets for 2024
Read More
PLEATED LAMPSHADE ARE MY NEW FAVORITE THING
SHOULD WE STAY LIGHT OR GO DARK WITH PAINTING OUR TINY MASTER BEDROOM?