Home>Interior Design>How To Paint A Front Door: For A Professional Finish
Interior Design
How To Paint A Front Door: For A Professional Finish
Modified: January 23, 2024
Learn how to achieve a professional finish when painting your front door with these interior-design tips. Transform your entrance with ease!
(Many of the links in this article redirect to a specific reviewed product. Your purchase of these products through affiliate links helps to generate commission for Storables.com, at no extra cost. Learn more)
Introduction
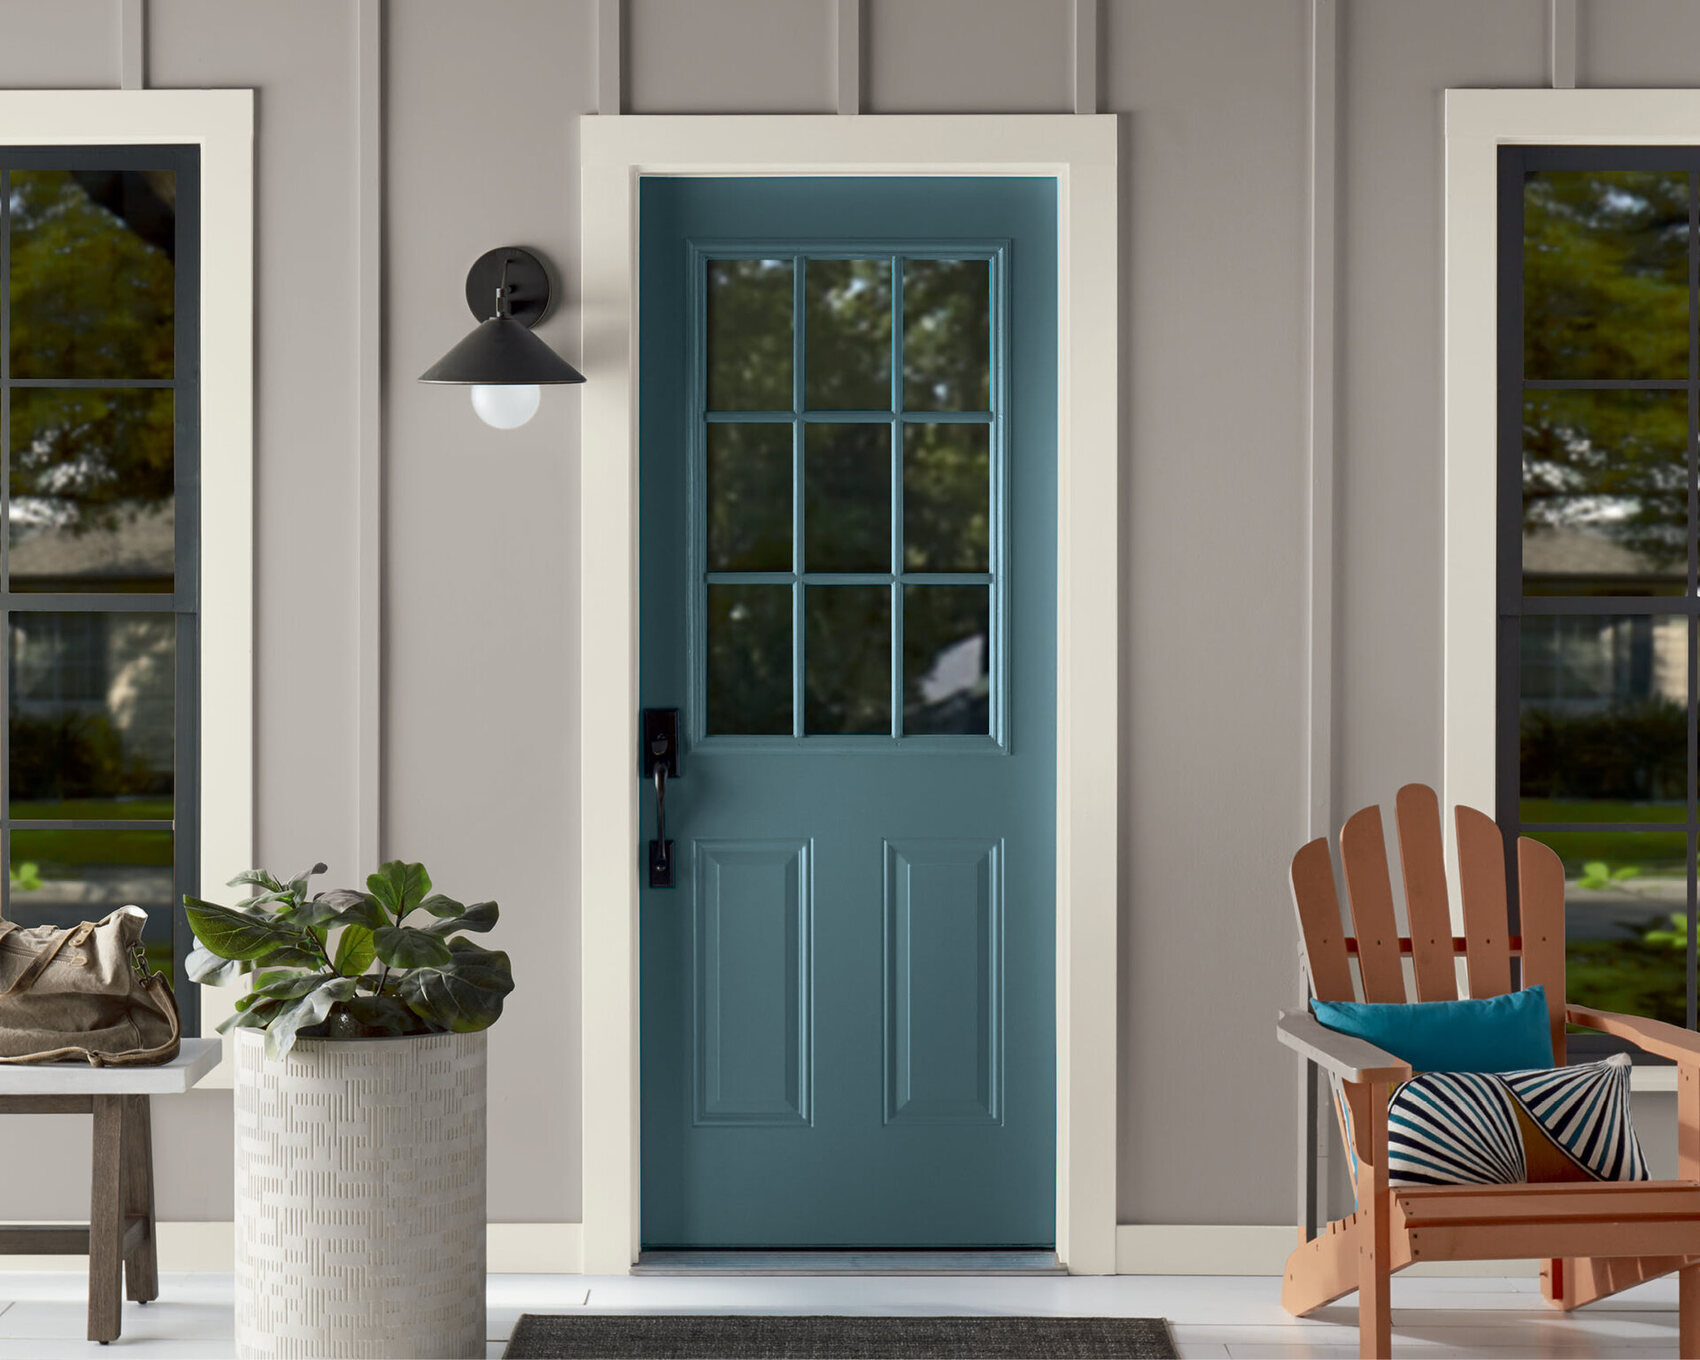
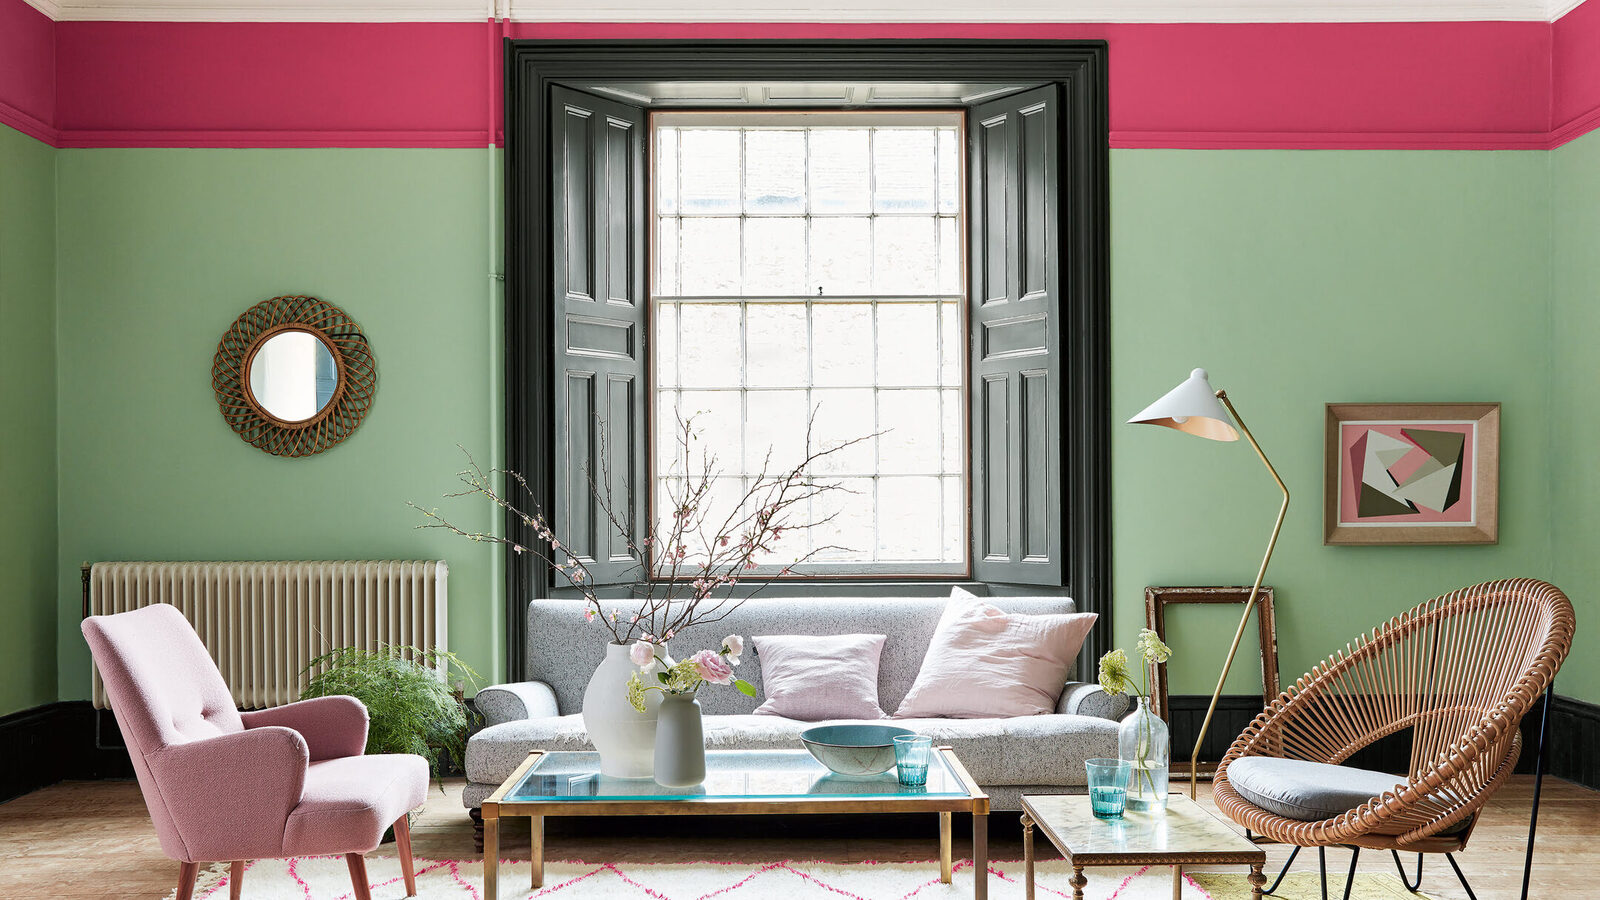
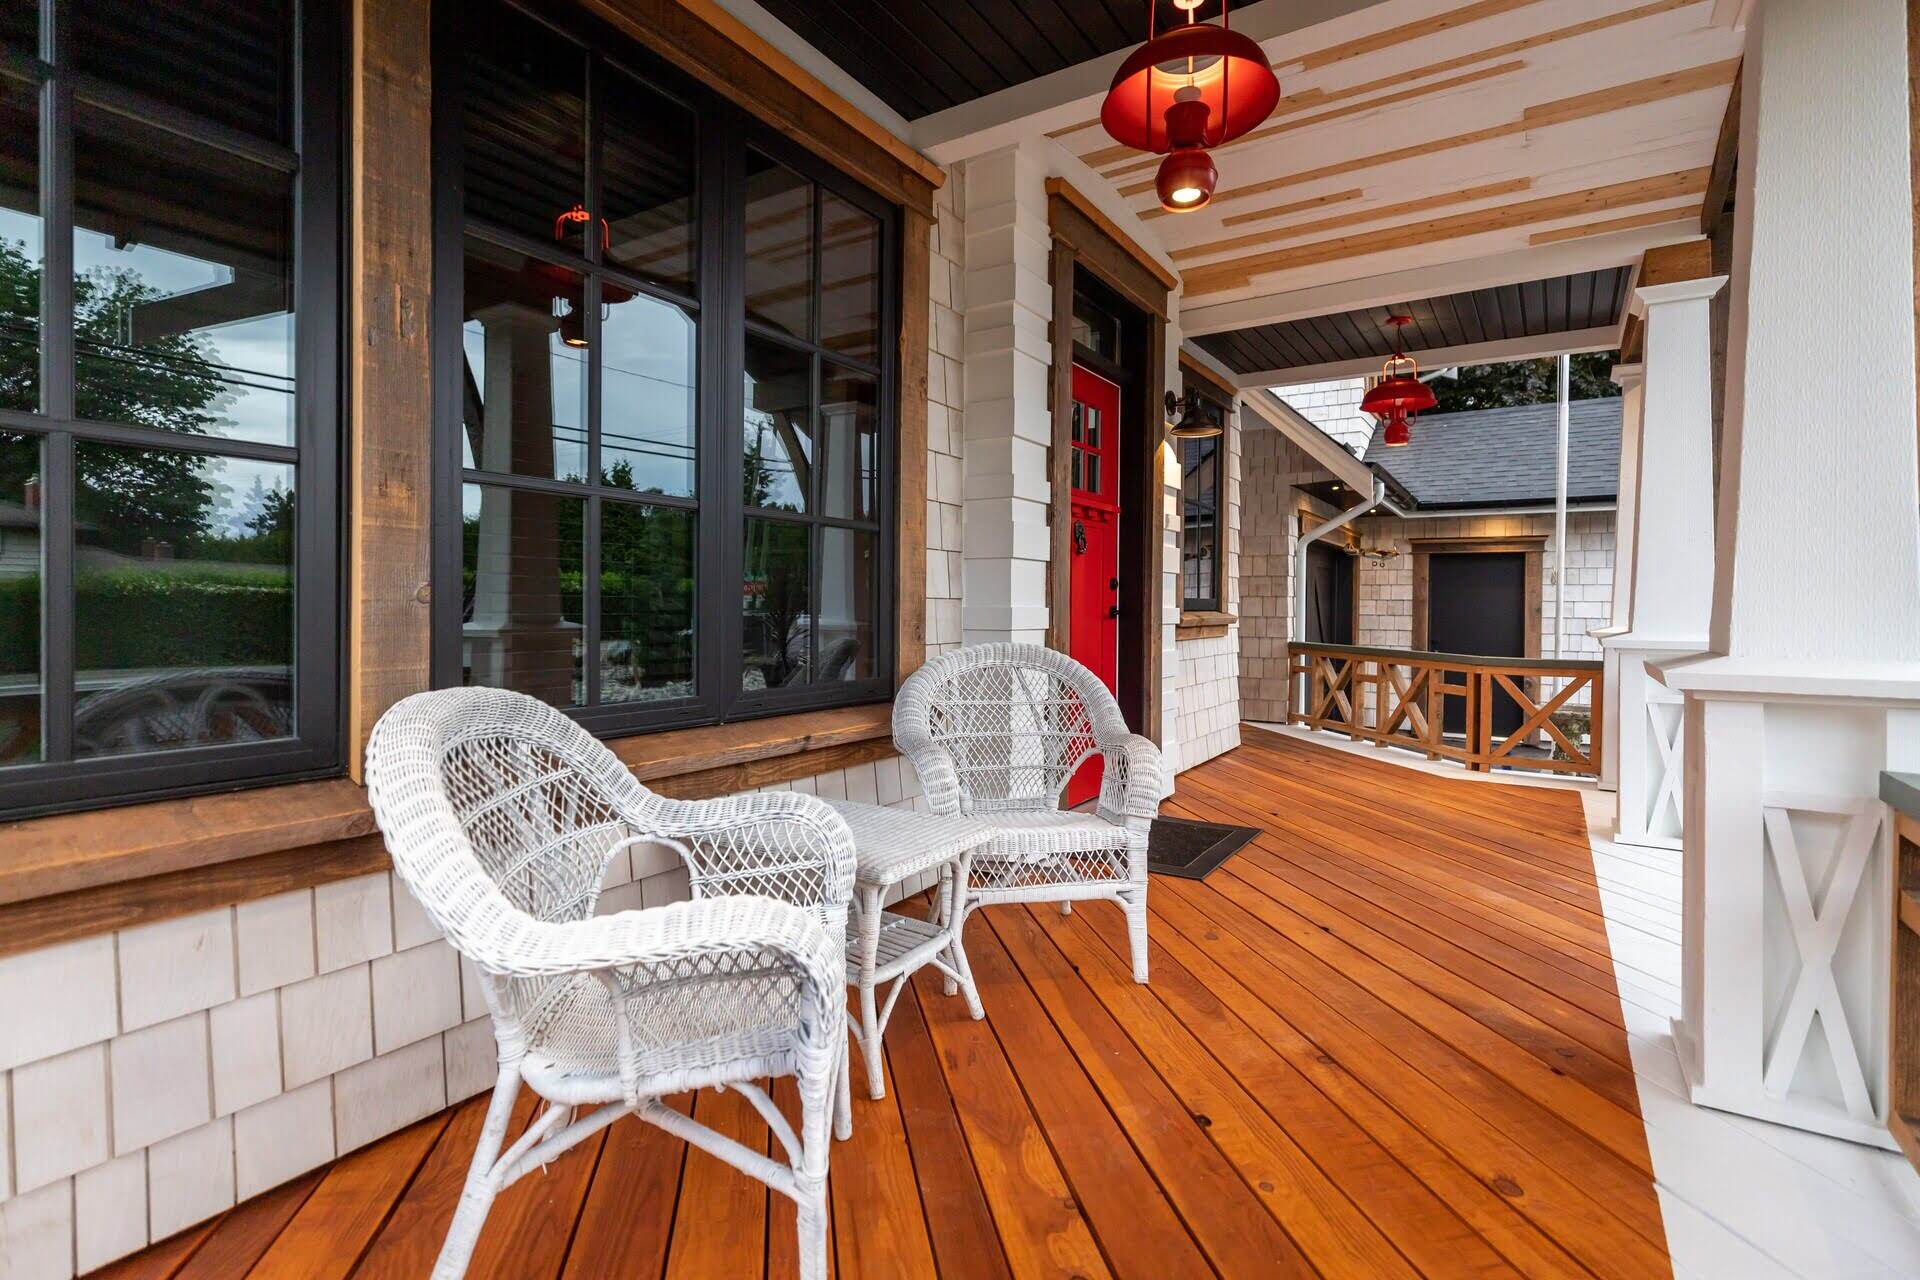
A front door plays a crucial role in enhancing the curb appeal and overall aesthetic of your home. It is the first thing that visitors see when they approach your house, and it sets the tone for what lies inside. One of the most effective ways to transform the look of your front door is by giving it a fresh coat of paint.
Painting a front door is a simple and cost-effective way to update and revitalize the entrance of your home. It not only adds charm and personality but also provides protection against weather elements.
However, painting a front door requires more than just slapping on a few coats of paint. To achieve a professional finish, proper preparation, material selection, and application techniques are necessary.
In this article, we will guide you through the process of painting a front door step by step. From gathering the necessary materials to final touches, we will provide you with essential tips and techniques to help you achieve a stunning and long-lasting result.
Key Takeaways:
- Elevate your home’s curb appeal and protect your front door with a professional paint finish. Proper preparation, material selection, and application techniques are essential for stunning and long-lasting results.
- Choose the right paint, color, and maintenance practices to ensure your freshly painted front door maintains its beauty and protection against the elements. Enjoy the process and relish in a job well done!
Gathering the necessary materials
Before you begin painting your front door, it is crucial to gather all the necessary materials. Having everything prepared in advance will help streamline the process and ensure a professional finish.
Here is a list of materials you will need:
- Paint: Choose a high-quality exterior paint specifically designed for doors. Opt for a paint with a glossy or semi-gloss finish for durability and easy maintenance.
- Primer: If your front door is made of bare wood or has a previously painted surface, applying a primer is essential to promote adhesion and enhance the longevity of the paint.
- Paintbrushes: Use a high-quality synthetic brush with bristles suitable for the type of paint you are using. A 2 to 2.5-inch brush is ideal for most front doors.
- Paint roller and tray: A small paint roller can be used to apply paint to larger, flat areas of the door for a smoother finish. A tray is necessary for loading the roller with paint.
- Sandpaper: To ensure a smooth surface for painting, you will need sandpaper with a grit between 120-220. This will help remove any imperfections or rough surfaces.
- Tack cloth: A tack cloth is used to wipe away any dust or debris after sanding, ensuring a clean surface for painting.
- Painter’s tape: Use painter’s tape to protect any areas you do not want to be painted, such as windowpanes or hardware.
- Drop cloth or plastic sheeting: To protect the surrounding area from paint splatters or drips, lay down a drop cloth or plastic sheeting.
- Screwdriver: If your door has hardware, such as doorknobs or hinges, you will need a screwdriver to remove them before painting.
- Cleaner: Use a mild detergent or specialized door cleaner to remove any dirt, grease, or grime from the surface of the door.
Make sure to gather all the materials before you start painting to avoid any interruptions or delays in the process. Having everything readily available will help you work efficiently and achieve the best possible result.
Preparing the front door for painting
Properly preparing the front door before painting is crucial for achieving a smooth and professional finish. Here are the steps to follow:
- Remove hardware: Start by removing any hardware attached to the front door, such as doorknobs, hinges, or kickplates. This will make the painting process easier and prevent any accidental paint drips on the hardware. Place the hardware in a safe place for reinstallation later.
- Clean the door: Use a mild detergent or specialized door cleaner to thoroughly clean the surface of the door. Remove any dirt, grease, or grime using a sponge or cloth. Pay close attention to crevices and corners. Rinse the door with clean water and let it dry completely.
- Sand the door: Use sandpaper with a grit between 120-220 to gently sand the surface of the door. This will help remove any imperfections, roughness, or existing paint chips. Sand in the direction of the wood grain to avoid scratching the surface. Wipe away the sanding dust with a tack cloth.
- Repair any damage: Inspect the door for any damages, cracks, or holes. Use wood filler or putty to fill in any imperfections. Allow the filler to dry according to the manufacturer’s instructions. Once dry, sand the filled areas gently to achieve a smooth surface.
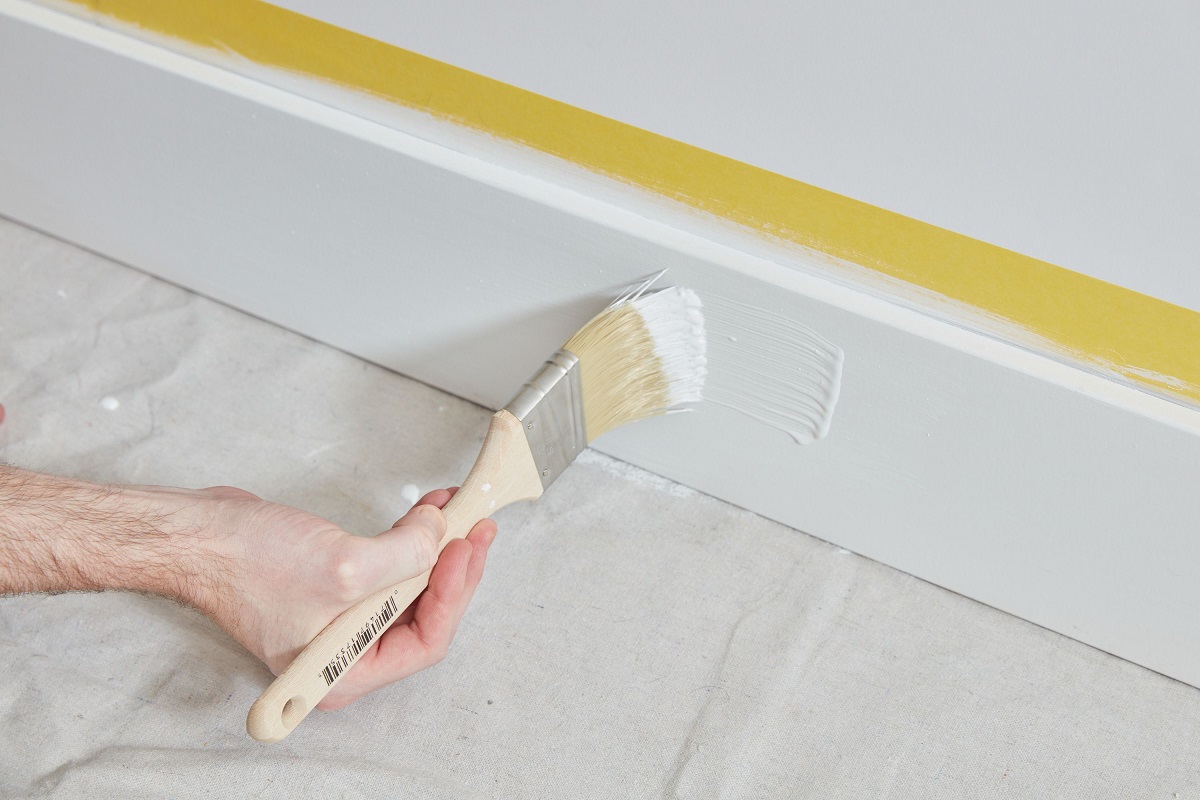
- Mask off areas: Use painter’s tape to mask off any areas you do not want to paint, such as windowpanes or hardware. Ensure that the tape is securely pressed down to prevent paint bleed.
- Protect the surrounding area: Lay down a drop cloth or plastic sheeting to protect the surrounding area from paint splatters or drips. This will make cleanup much easier and prevent damage to flooring or plants.
By following these essential preparation steps, you will ensure that the surface of the door is clean, smooth, and ready for painting. Taking the time to properly prepare the door will significantly contribute to the overall quality and longevity of the paint job.
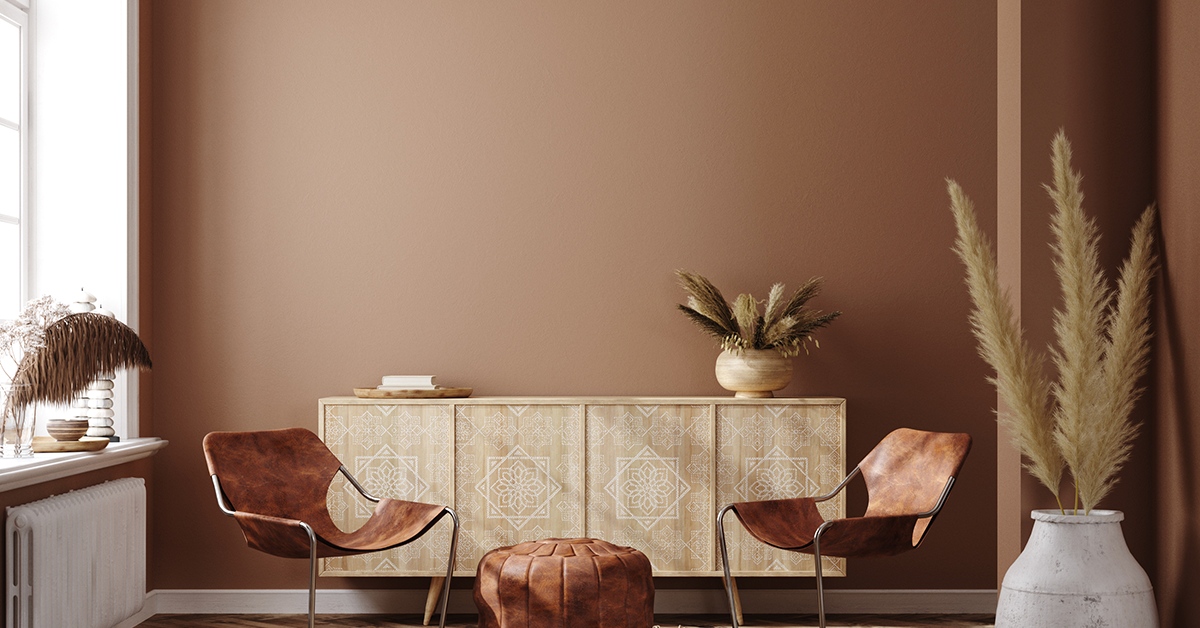
Choosing the right paint and color
Choosing the right paint and color for your front door is an important step in the painting process. The paint you select should not only complement your home’s exterior but also provide durability and longevity. Here are some factors to consider when making your decision:
1. Exterior-grade paint: It is crucial to choose a high-quality exterior-grade paint formulated for doors. Exterior paints are designed to withstand various weather conditions, such as rain and UV exposure, without fading or peeling. Look for a paint that offers excellent adhesion, durability, and resistance to moisture and mildew.
2. Gloss or semi-gloss finish: Opt for a glossy or semi-gloss finish for your front door. These finishes not only provide a beautiful sheen but also offer better durability and easier maintenance. Glossy finishes are more reflective and will make your front door stand out, while semi-gloss finishes strike a balance between shine and hiding imperfections.
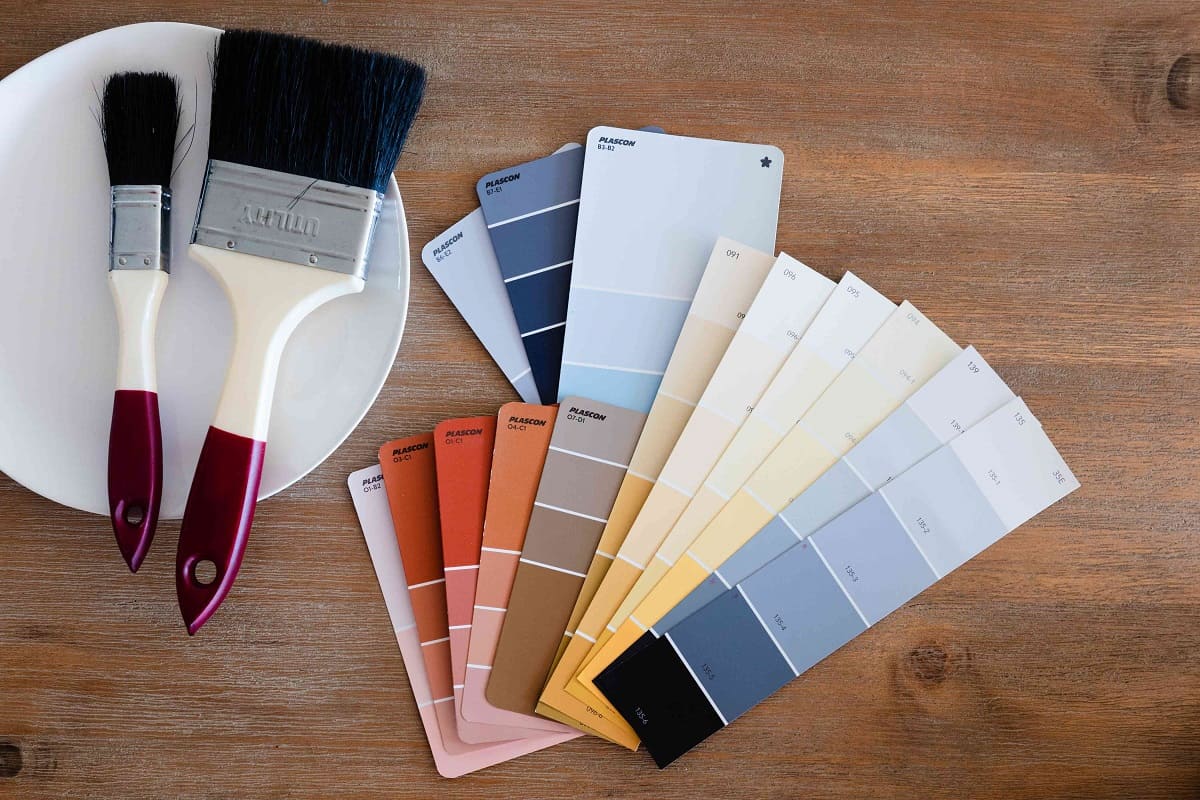
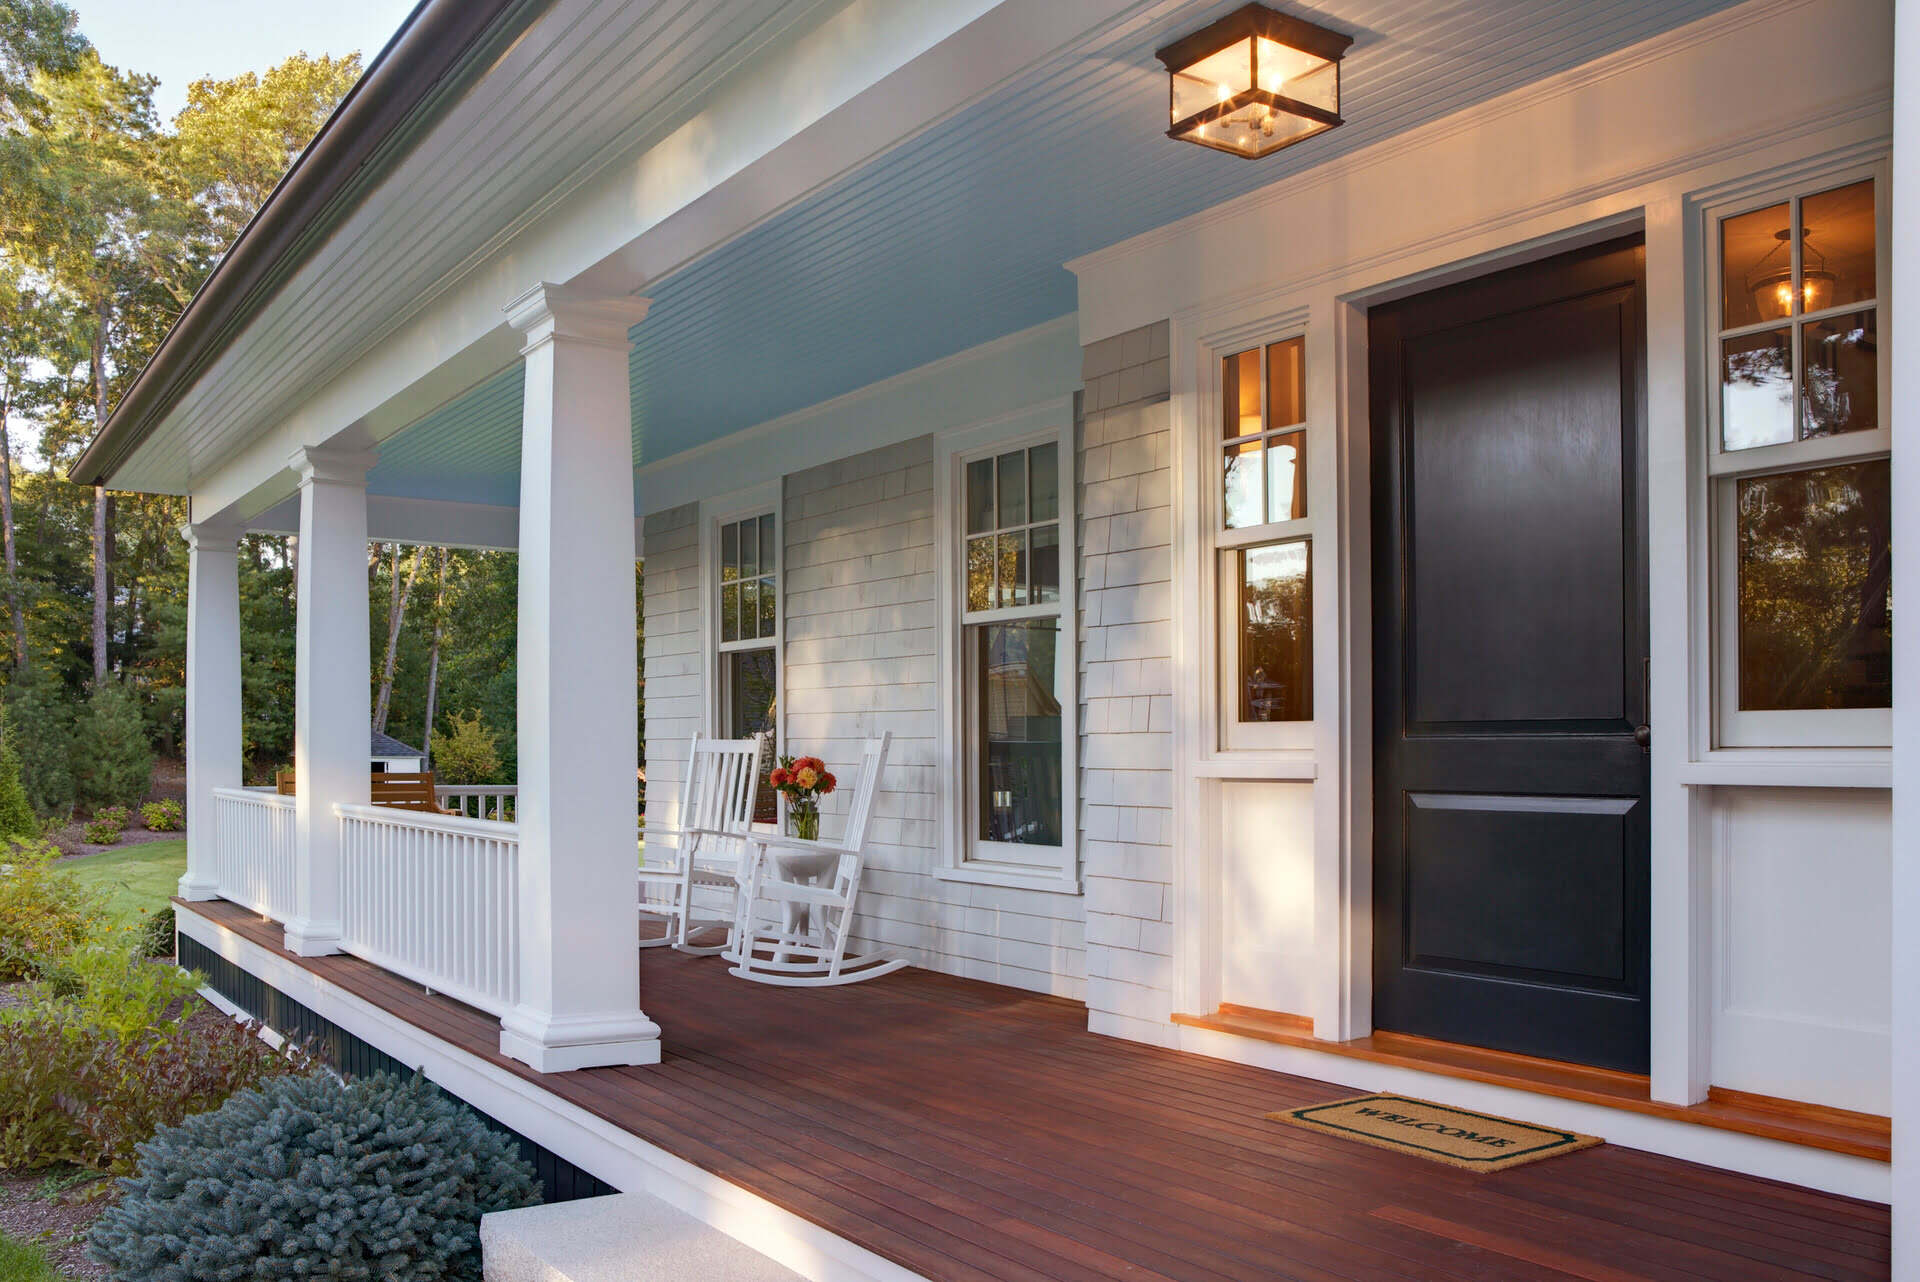
3. Color selection: When choosing a color for your front door, consider the overall style and color scheme of your home’s exterior. Take into account the architectural style, existing trim colors, and the surrounding environment. Bold and vibrant colors can make a statement and add personality, while more neutral or classic colors can create a timeless and sophisticated look.
4. Samples and testing: Before committing to a color, it’s always a good idea to obtain paint samples and test them on a small, inconspicuous area of the door. This will allow you to see how the color looks in different lighting conditions and how it complements the surrounding elements.
Remember that choosing the right paint and color for your front door is a personal preference. Take your time, gather inspiration, and select a color that reflects your style and enhances the overall curb appeal of your home.
Applying the primer
After preparing the front door, the next step is to apply a primer. Priming the surface is essential for promoting adhesion, providing a smooth base, and extending the lifespan of the paint. Here’s how to apply primer to your front door:
- Choose the right primer: Select a high-quality primer formulated for the type of surface you’re working with. If your front door is made of bare wood or has existing paint in poor condition, use a bonding or all-purpose primer. If you’re painting over a previously painted surface in good condition, a stain-blocking primer will suffice.
- Preparation: Make sure the surface of the door is clean, dry, and free of dust or debris. If necessary, lightly sand the door again with a fine-grit sandpaper and remove any sanding dust with a tack cloth.
- Apply primer: Use a paintbrush or roller to apply the primer to the front door. Start with the edges and corners, then move onto the larger flat areas. Work in small sections to ensure even coverage. Apply the primer in thin, even coats, following the manufacturer’s instructions regarding drying time between coats.
- Smooth the surface: After applying the primer, use a foam or fine-grit sandpaper to lightly sand the surface. This will help create a smooth, uniform base for the paint. Wipe away any sanding dust with a tack cloth before moving on.
- Inspect and touch up: Once the primer is dry, inspect the door for any imperfections or areas that may require additional priming or touch-ups. Address any issues before proceeding to the next step.
Applying a primer is an essential step in the painting process, as it helps create a strong foundation and enhances the overall quality and longevity of the paint job. Taking the time to properly prime your front door will contribute to a professional and durable finish.
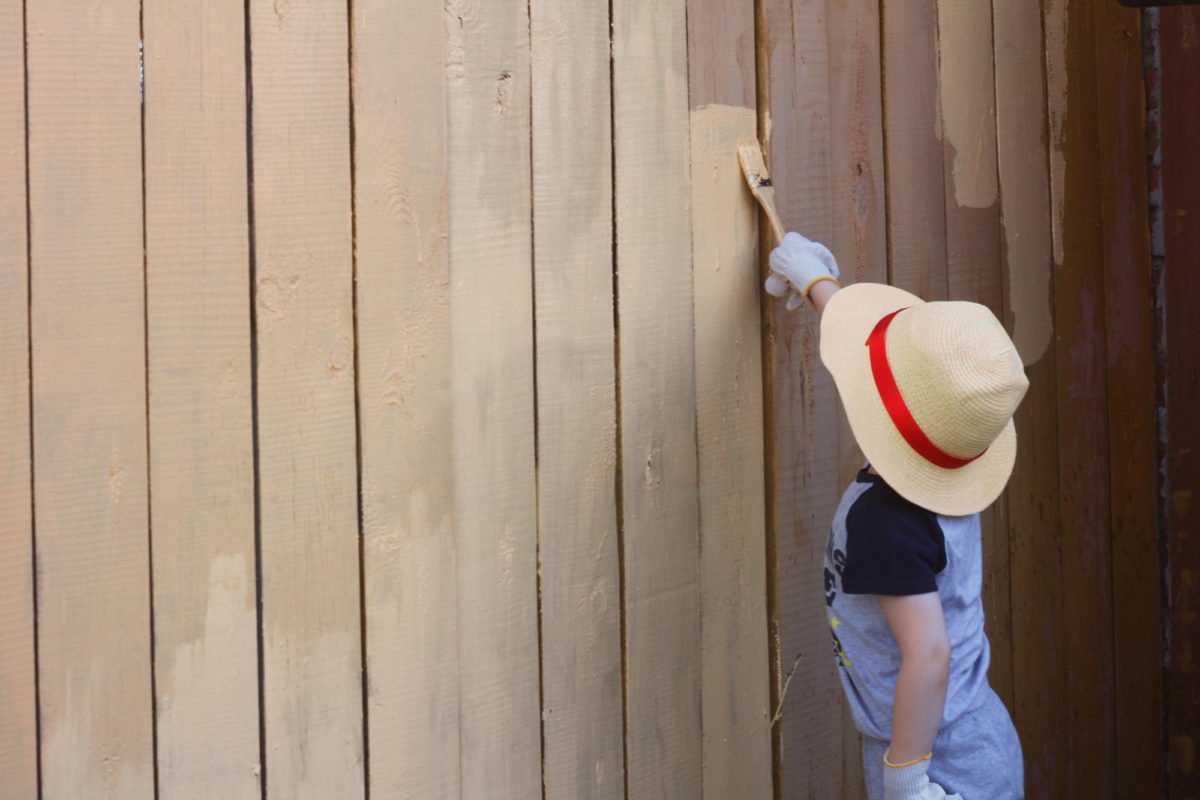
Painting the front door
Now that you’ve prepared the front door and applied the primer, it’s time to begin painting. Follow these steps to achieve a smooth and even coat of paint:
- Choose the right paintbrush: Use a high-quality synthetic paintbrush that is suitable for the type of paint you’re using. A 2 to 2.5-inch brush is perfect for most front doors. If you prefer, you can also use a small paint roller for larger, flat areas.
- Start with the panels: Begin by painting the recessed panels of the door. Use smooth, even strokes and work from the top to the bottom. Apply a thin coat of paint, ensuring coverage in all the crevices and corners.
- Paint the edges: Next, move on to painting the vertical edges of the door, working from top to bottom. Take care to get good coverage along the edges and in any grooves or decorative moldings.
- Paint the horizontal sections: Paint the horizontal sections of the door, starting from the top and working your way down. Use long, smooth strokes in the same direction as the grain, if your door has one.
- Smooth out brush strokes: After applying the paint, use the brush or roller to lightly smooth out any brush strokes or roller marks. This will help achieve a more even and professional-looking finish.
- Check for drips or runs: While the paint is still wet, check for any drips or runs and smooth them out immediately with the brush. This will prevent them from drying and leaving visible marks on the finished door.
Work carefully and take your time while painting to ensure a smooth and even application. It’s better to apply multiple thin coats rather than one thick coat, as this will help prevent drips and ensure better adhesion. Allow each coat to dry completely before applying the next.
Before painting your front door, make sure to thoroughly clean and sand the surface to ensure the paint adheres properly. Use a high-quality exterior paint and apply it in thin, even coats for a professional finish.
Applying a second coat (if needed)
After the first coat of paint has fully dried, it’s time to assess whether a second coat is needed. While some high-quality paints may provide complete coverage with just one coat, most front doors will benefit from a second coat for a more flawless and durable finish. Here’s how to determine if a second coat is necessary and how to apply it:
- Inspect the first coat: Step back and carefully examine the front door. Look for any areas that appear thin or uneven. Check for any visible brush strokes or roller marks that may require additional coverage. It’s important to have a well-lit area to accurately assess the coverage.
- Assess the color and depth: Evaluate the color of the first coat of paint. If it appears slightly translucent or lacks vibrancy, applying a second coat will help achieve a more solid and richer color. Additionally, a second coat can enhance the depth and overall finish of the door.
- Prepare for the second coat: Before applying the second coat, lightly sand the surface with fine-grit sandpaper to create a smooth surface. Wipe away any sanding dust with a tack cloth to ensure a clean surface for painting.
- Apply the second coat: Follow the same painting technique as for the first coat. Start with the recessed panels, then move on to the edges, and finally paint the larger flat areas. Use long, smooth strokes and apply the paint in thin, even coats. Pay attention to areas that require additional coverage for a seamless finish.
- Check for drips and runs: As you apply the second coat, watch out for any drips or runs. Smooth them out immediately with a brush to prevent them from drying and leaving visible marks on the final result.
- Allow the paint to dry: Let the second coat of paint dry completely according to the manufacturer’s instructions. Avoid touching the door or closing it until the paint is fully cured to prevent smudges or damage.
Applying a second coat of paint, if needed, will provide a more professional and polished look to your front door. It will help ensure better coverage, color saturation, and durability. Remember to be patient and allow adequate drying time between coats for the best results.
Allowing the paint to dry and cure
Once you’ve finished applying the final coat of paint to your front door, it’s important to allow the paint to fully dry and cure. Proper drying and curing time is crucial for achieving a long-lasting and durable finish. Here’s what you need to know:
1. Drying time: Drying time refers to the time it takes for the paint to dry to the touch. This typically ranges from a few hours to overnight, depending on factors such as temperature and humidity. Follow the manufacturer’s instructions for the specific paint you’re using to determine the recommended drying time.
2. Curing time: Curing time is the length of time it takes for the paint to fully harden and reach its maximum durability. While the paint may feel dry to the touch after a few hours, it’s important to allow sufficient curing time before subjecting the door to regular use or reopening it. In general, it’s best to wait at least 24-48 hours before handling the door, closing it, or reinstalling any hardware.
3. Avoiding smudges and damage: During the drying and curing process, it’s crucial to avoid touching or placing any objects on the freshly painted surface. This can cause smudges, imprints, or damage to the finish. If the door needs to be opened or closed, handle it with care and use caution to prevent any accidental damage to the paint.
4. Ideal drying conditions: Proper drying conditions can influence the drying and curing time of the paint. Aim for a well-ventilated area with moderate temperature and humidity levels. Avoid painting in extreme heat, cold, or high humidity, as these conditions can affect the drying process and potentially impact the quality of the finish.
By allowing the paint to fully dry and cure, you’ll ensure that your front door achieves its maximum durability and longevity. Taking the necessary time and precautions during this stage will help protect your hard work and maintain the beauty of your freshly painted door.
Reinstalling the hardware
Once the paint on your front door has fully dried and cured, it’s time to reinstall the hardware. Reattaching the hardware not only completes the overall look but also ensures the functionality of the door. Follow these steps to reinstall the hardware:
- Retrieve the hardware: Gather all the hardware, including doorknobs, hinges, kickplates, or any other accessories you had previously removed.
- Clean the hardware: Before reinstalling, it’s a good idea to clean the hardware to remove any dirt or residue that may have accumulated. Use a mild cleaning solution and a soft cloth to gently clean each piece. Dry them thoroughly with a clean cloth.
- Align the hardware: Align the doorknob and hinges with their respective holes on the door. Ensure that they sit flush against the surface.
- Attach the hardware: Use the appropriate screws or fasteners to secure the hardware in place. Use a screwdriver or drill to tighten the screws, being careful not to overtighten.
- Check for smooth operation: After reinstalling the hardware, test the door to ensure that it opens, closes, and latches smoothly. Make any necessary adjustments to ensure proper alignment.
Once you have reinstalled the hardware, take a step back and admire the finished result. The combination of a fresh coat of paint and the reinstalled hardware will give your front door a renewed appearance and functionality.
Remember, if you are unsure about any part of the hardware installation process, it’s always a good idea to consult a professional or refer to the manufacturer’s instructions for proper guidance.
Final touches and cleaning up
With the hardware reinstalled, you’re almost done with your front door painting project. The final touches and clean-up are important to ensure a polished finish and leave your workspace tidy. Follow these steps to complete the process:
- Inspect for touch-ups: Take a close look at the front door to identify any areas that may require touch-ups or additional paint coverage. Use a small brush or roller to carefully address these areas, blending them seamlessly with the rest of the painted surface.
- Remove painter’s tape: If you used painter’s tape to protect certain areas during the painting process, gently remove it while the paint is still slightly tacky. Pull the tape at a 45-degree angle to avoid peeling paint off with it.
- Clean up your workspace: Dispose of any used painter’s tape, drop cloths, or other protective materials that you used during the painting process. Gather your tools and clean them properly according to the manufacturer’s instructions. Wipe down any surfaces that may have paint splatters or drips with a damp cloth.
- Properly dispose of paint materials: If there is leftover paint or empty paint cans, follow your local regulations for proper disposal. Some areas may require you to dispose of paint materials at designated collection centers or recycling facilities.
Completing these final touches and cleaning up ensures that your front door painting project is finished to a professional standard. Take a moment to step back and admire your beautifully painted front door, adding an inviting and refreshed look to your home’s exterior.
Remember, proper clean-up and disposal of paint materials are essential for environmental stewardship. Always follow the regulations and guidelines provided by your local authorities.
Tips for maintaining a freshly painted front door
After investing time and effort into painting your front door, it’s important to take steps to ensure its long-lasting beauty and protection. Here are some tips to help you maintain a freshly painted front door:
- Regular cleaning: Clean your front door periodically to remove dirt, dust, and grime that can accumulate over time. Use a mixture of mild detergent and water, and a soft cloth or sponge to gently clean the surface. Avoid using abrasive cleaners or harsh chemicals that can damage the paint.
- Avoid harsh impacts: Be cautious when moving furniture, equipment, or other objects near your front door to prevent any accidental impacts that could chip or damage the paint. Consider using doorstops or placing protective mats to minimize the risk of scratches or dings.
- Protect from the elements: Your front door is exposed to various weather conditions, including rain, sun, and extreme temperatures. Consider installing a storm door or providing a protective overhang to shield your front door from direct exposure. This can help prolong the life of the paint and prevent premature fading or peeling.
- Inspect and touch up: Regularly inspect your front door for any signs of wear or damage, such as chipping or peeling paint. Address any issues promptly by touching up the affected areas with matching paint. This will help maintain the overall appearance and prevent further deterioration.
- Be cautious with cleaning products: When cleaning your front door, avoid using harsh or abrasive cleaning products that can strip away the paint. Stick to mild detergents and non-abrasive cleaning tools to preserve the integrity and finish of the paint.
- Consider seasonal touch-ups: Depending on your climate and the amount of exposure your front door receives, it may benefit from seasonal touch-ups. A quick touch-up with fresh paint can revive the color and protect the door from the specific challenges of each season.
By following these maintenance tips, you can protect your freshly painted front door and extend the lifespan of the paint job. With proper care and attention, your front door will continue to enhance the beauty and curb appeal of your home for years to come.
Conclusion
Painting your front door can have a transformative effect on the overall look and feel of your home’s exterior. With proper preparation, the right materials, and careful execution, you can achieve a professional finish that will enhance curb appeal and provide long-lasting beauty.
From gathering the necessary materials to the final touches and clean-up, each step of the process is important in achieving a successful paint job. Taking the time to prepare the front door, choose the right paint and color, and apply the primer and paint with precision will ensure a stunning result.
Remember to allow sufficient time for the paint to dry and cure before reattaching the hardware and fully utilizing the door. Following proper maintenance practices, such as regular cleaning and periodic touch-ups, will help preserve the freshly painted look for years to come.
Whether you decide to opt for a bold and vibrant color or a classic and timeless hue, painting your front door is a simple and cost-effective way to elevate the visual appeal of your home. It’s an opportunity to add personality and charm while also providing protection against the elements.
So, go ahead and give your front door a fresh coat of paint. Transform your entrance and create a warm and inviting welcome to your home. Enjoy the process, and relish in the satisfaction of a job well done!
Frequently Asked Questions about How To Paint A Front Door: For A Professional Finish
Was this page helpful?
At Storables.com, we guarantee accurate and reliable information. Our content, validated by Expert Board Contributors, is crafted following stringent Editorial Policies. We're committed to providing you with well-researched, expert-backed insights for all your informational needs.


0 thoughts on “How To Paint A Front Door: For A Professional Finish”