By: • Articles
Sihoo Doro S300 Review: High-Quality Ergonomic Chair

By: • Articles
2024 Buying Guide for Costway Massage Chair
Articles
Articles
Garden Essentials
Outdoor Furniture
Articles
Home Entertainment Systems
Home Maintenance
Landscaping Ideas
Articles
Cleaning Appliances
Home Maintenance
Explore topics
How to Store Things
Inspiration & Ideas
Featured Articles

By: William Harrison • Articles
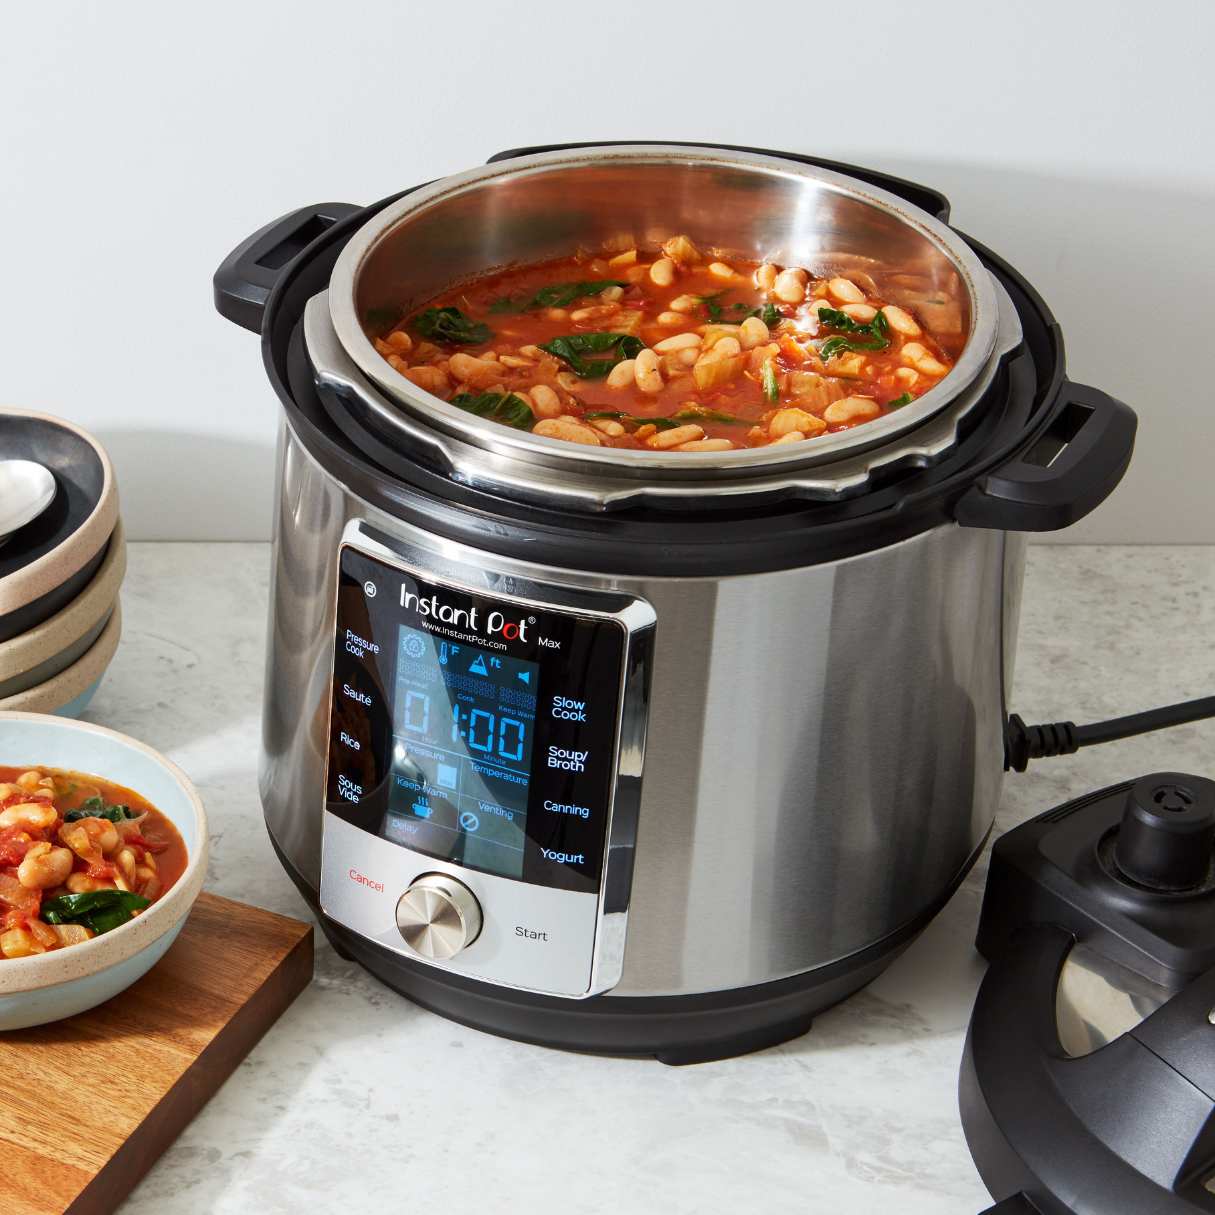
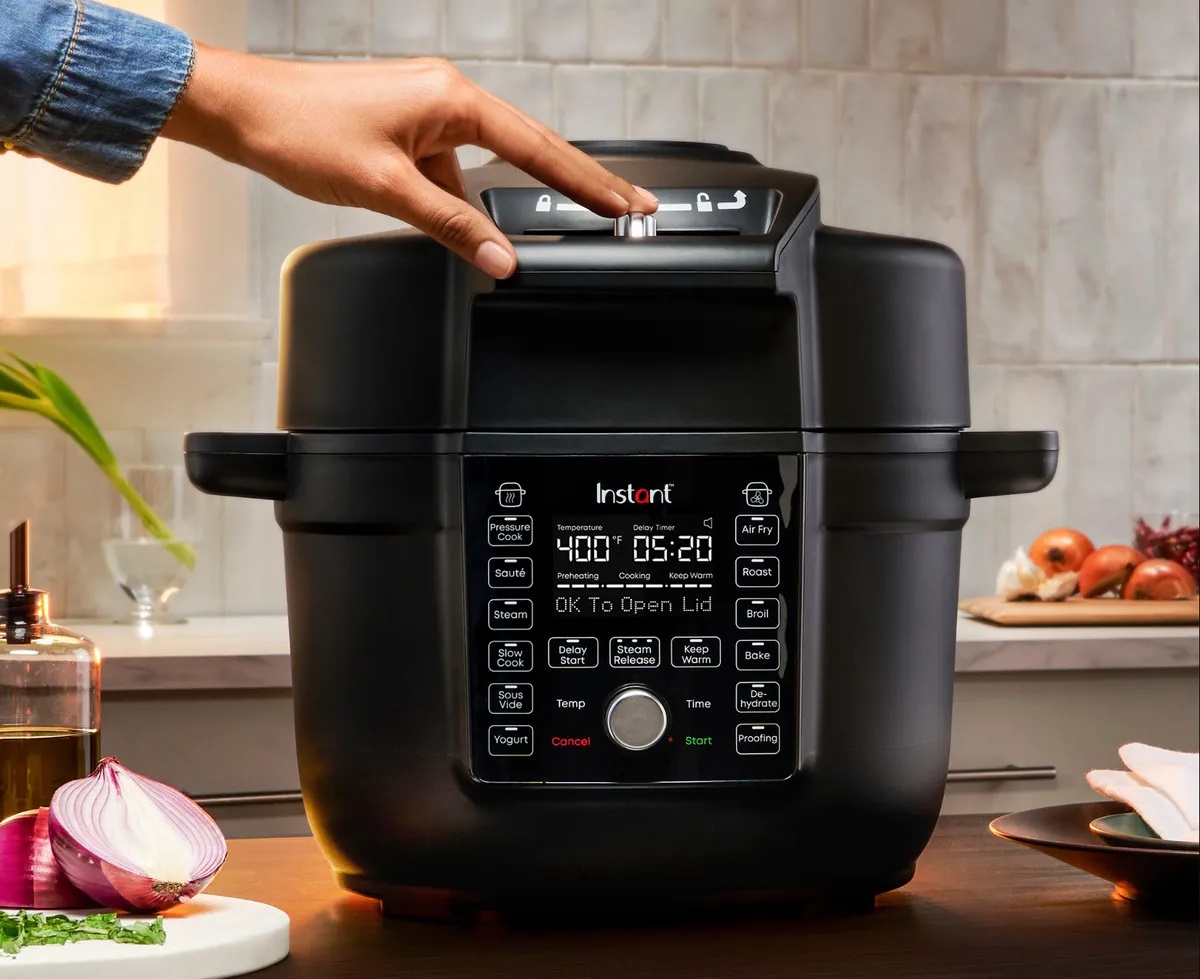
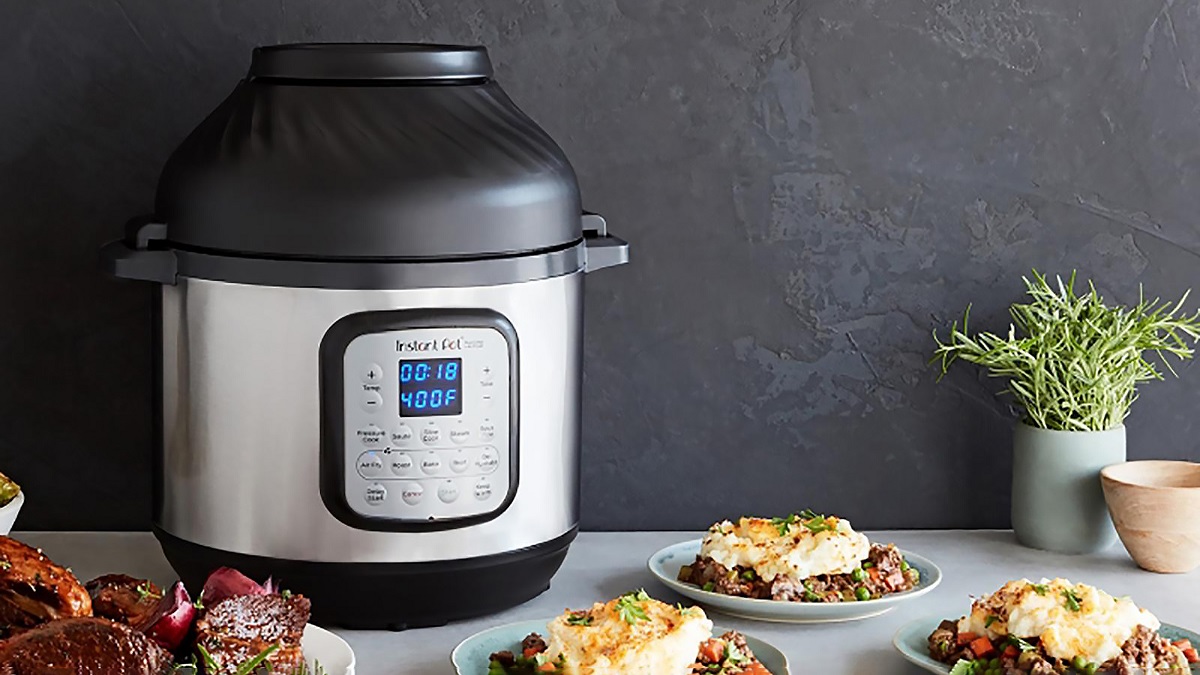
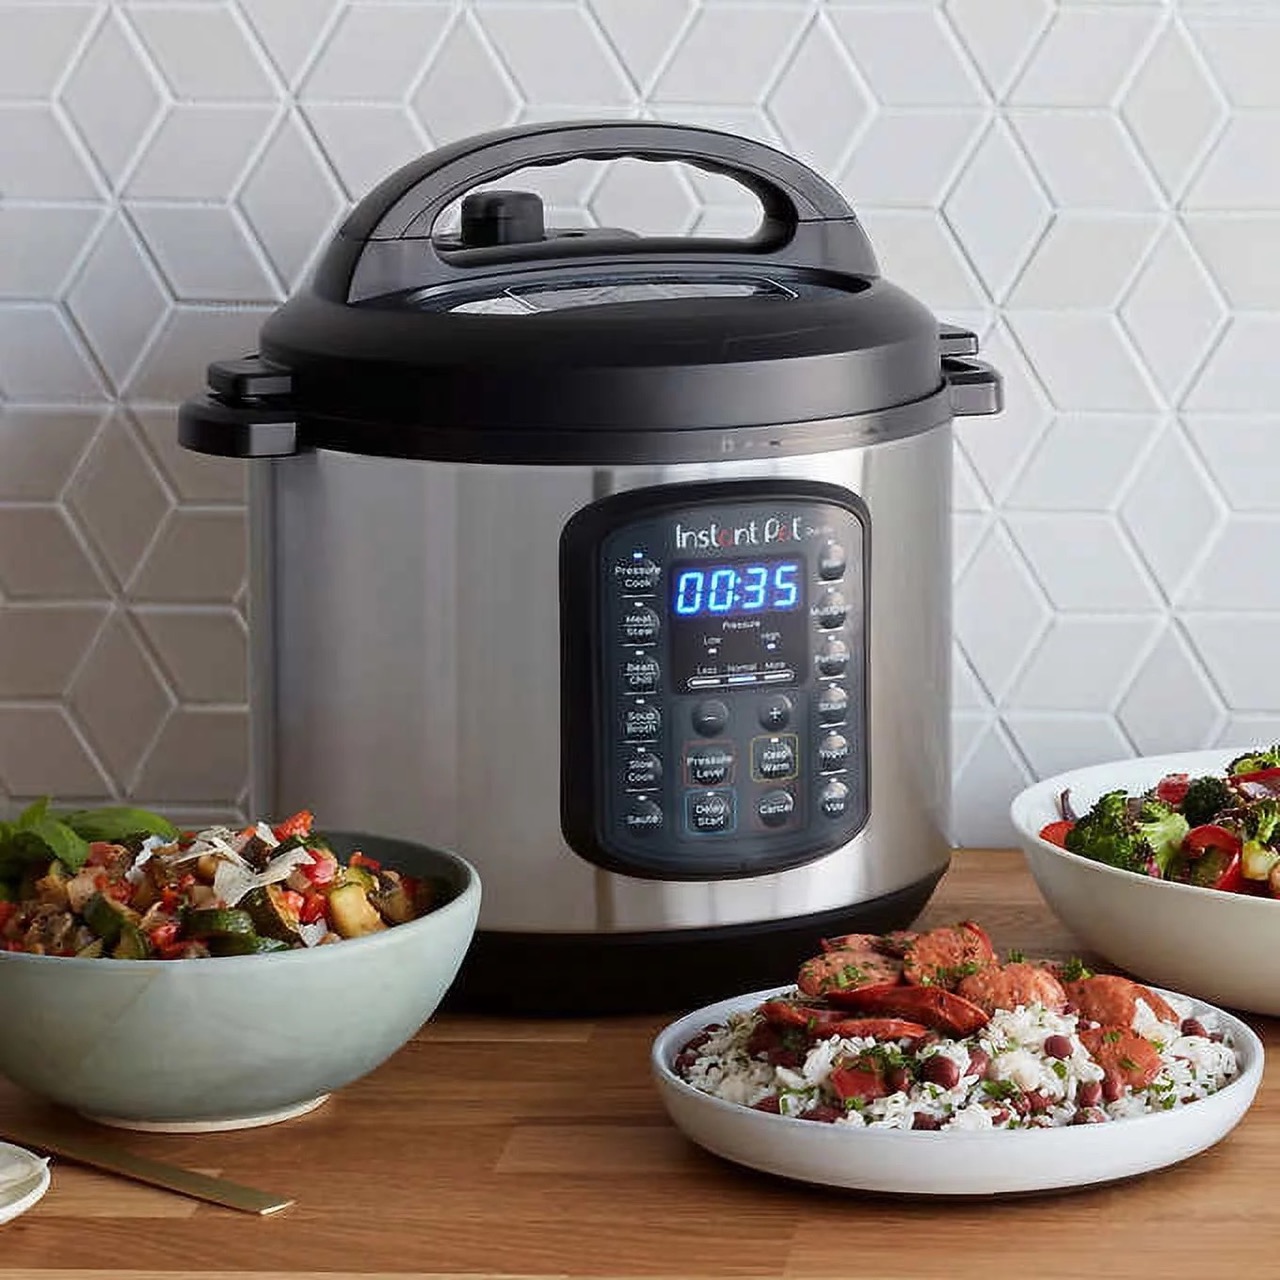
8 Superior Instant Pot Duo Sv 6Qt Multi-Use Pressure Cooker For 2024
Read More